10 Easy Ways to Decorate a Large Wall (without using Framed Art)

10 EASY WAYS TO DECORATE A BLANK WALL (Without using framed art)

I don’t know about you, but the thought of “What do I put on a large wall?” can be overwhelming at times.   I’ve comPILed a list of 10 Easy DIY Wall art Projects that anyone can pull off. So Start Reading and say goodbye to blank walls forever.

10 Wall Decorating Ideas:

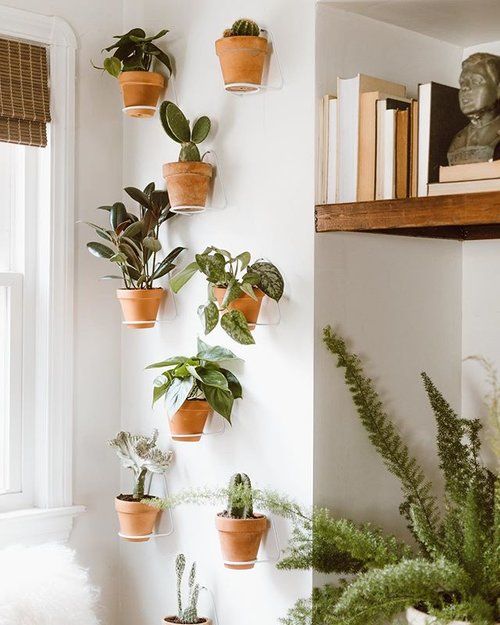
  1. Decorate your wall with Plants:

how to create a living wall — FORTHEHOME.jpeg

There are so many ways to incorporate a living plant wall, ranging from full blown built in’s, to hanging simple planters.   I love how Christine from @_forthehome decorated her walls with simple terra-cotta pots.  You can read her entire process HERE. This is such a beautiful way to cover a blank wall.  If you nervous about keeping so many plants alive, don’t be shy about using faux versions, there are so many realistic looking ones to buy these days.

2. Make a statement wall with a statement

DIYHomeDecor.jpg

The home decor world has gone through a few iterations of the classic letter board.  I love this oversized version from Alexi over at SeekingAlexi.  This X-large letter board is perfect for decorating a large wall in one shot! You can get a closer look at that awesome letter board on Alexi’s Blog HERE!

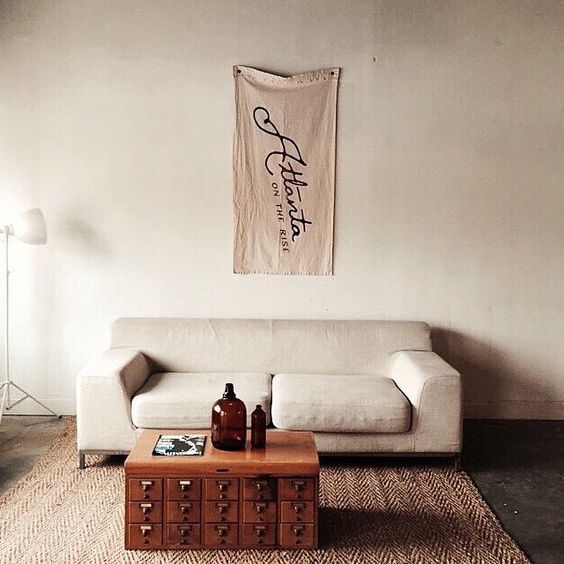
3. Fill a Blank Wall with a Flag

atlantaflag.jpg


There are so many cool flags to be found out there. Etsy is full of customizable options! I love this one HERE from Wild Standard, but using a vintage flag would be just as gorgeous. Some of the authentic flags are quite large so you could cover a large area with one of those. I’d love to find a vintage State flag to hang in my living room at some point.


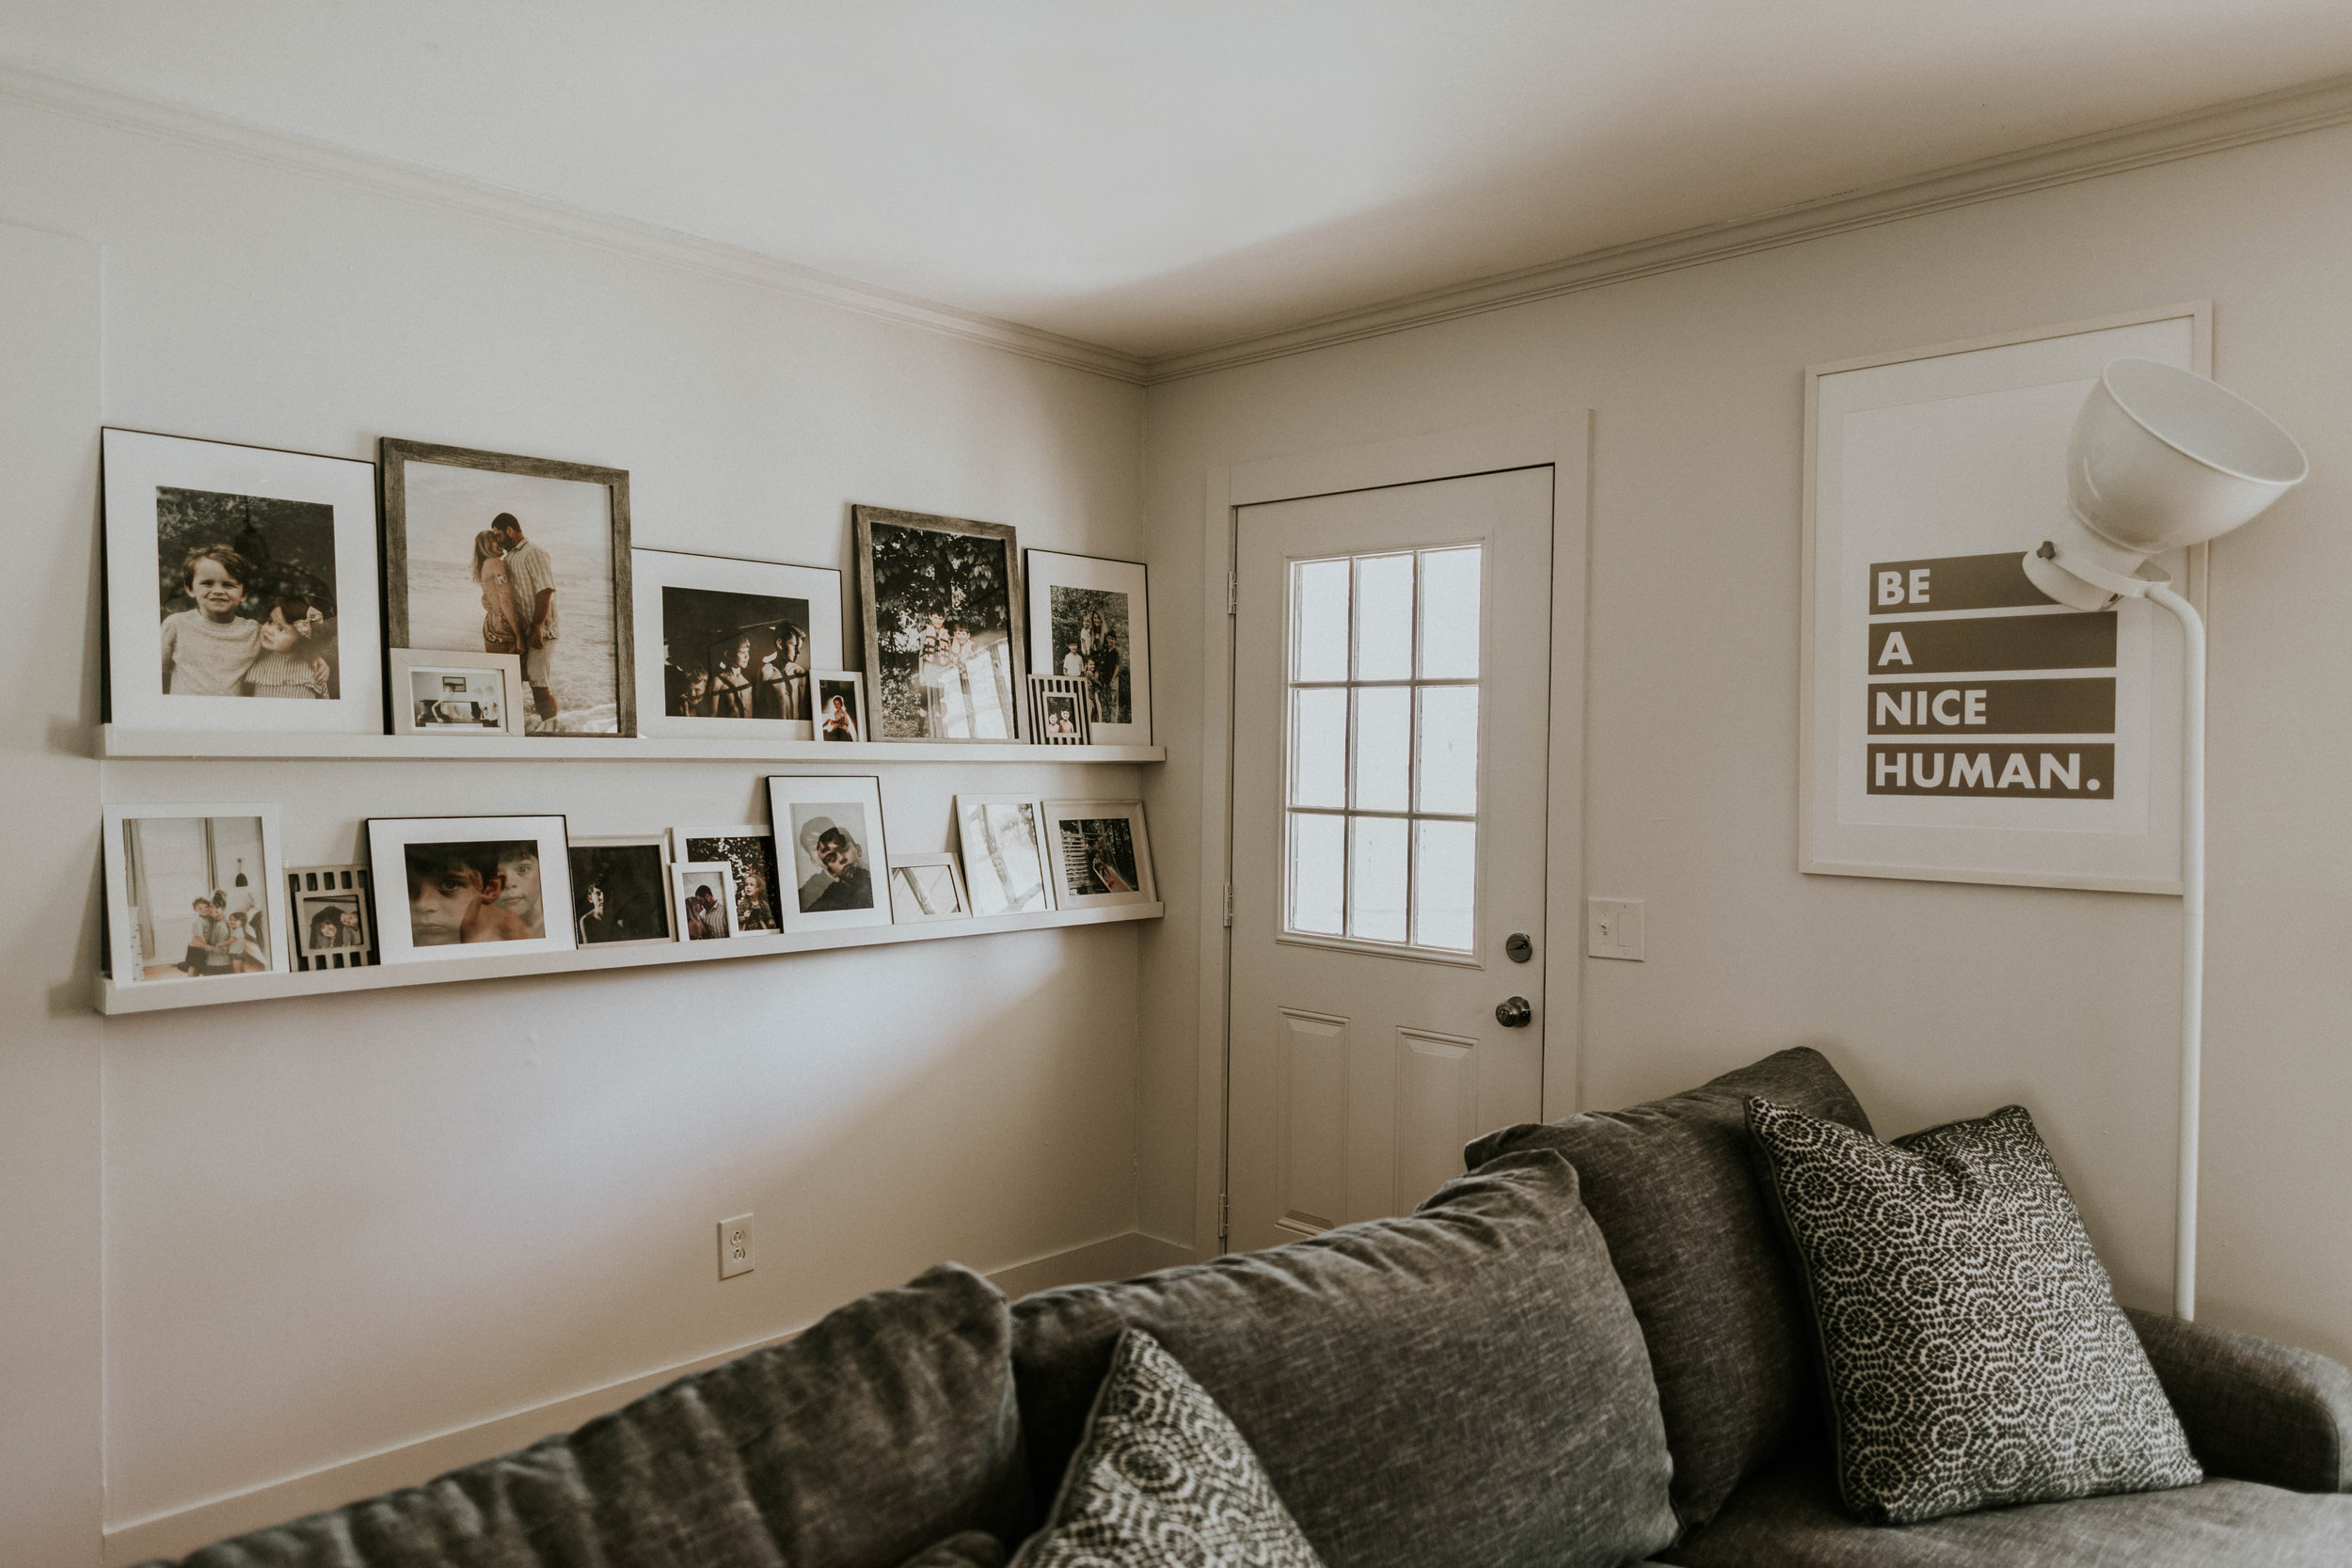
4. Decorate a blank wall with a DIY photo ledge (or Two)


HowDoIDecorateALargeWall.jpg

Okay, Okay, so technically this still incorporates using framed art, but the addition of the photo ledge gives some super awesome structure and interest. Depending on how long you make your ledge, this is a really easy way to cover a large wall. Bridgett from This Minimal House has a great DIY on how to make your own Photo ledge. You can read all about it HERE.

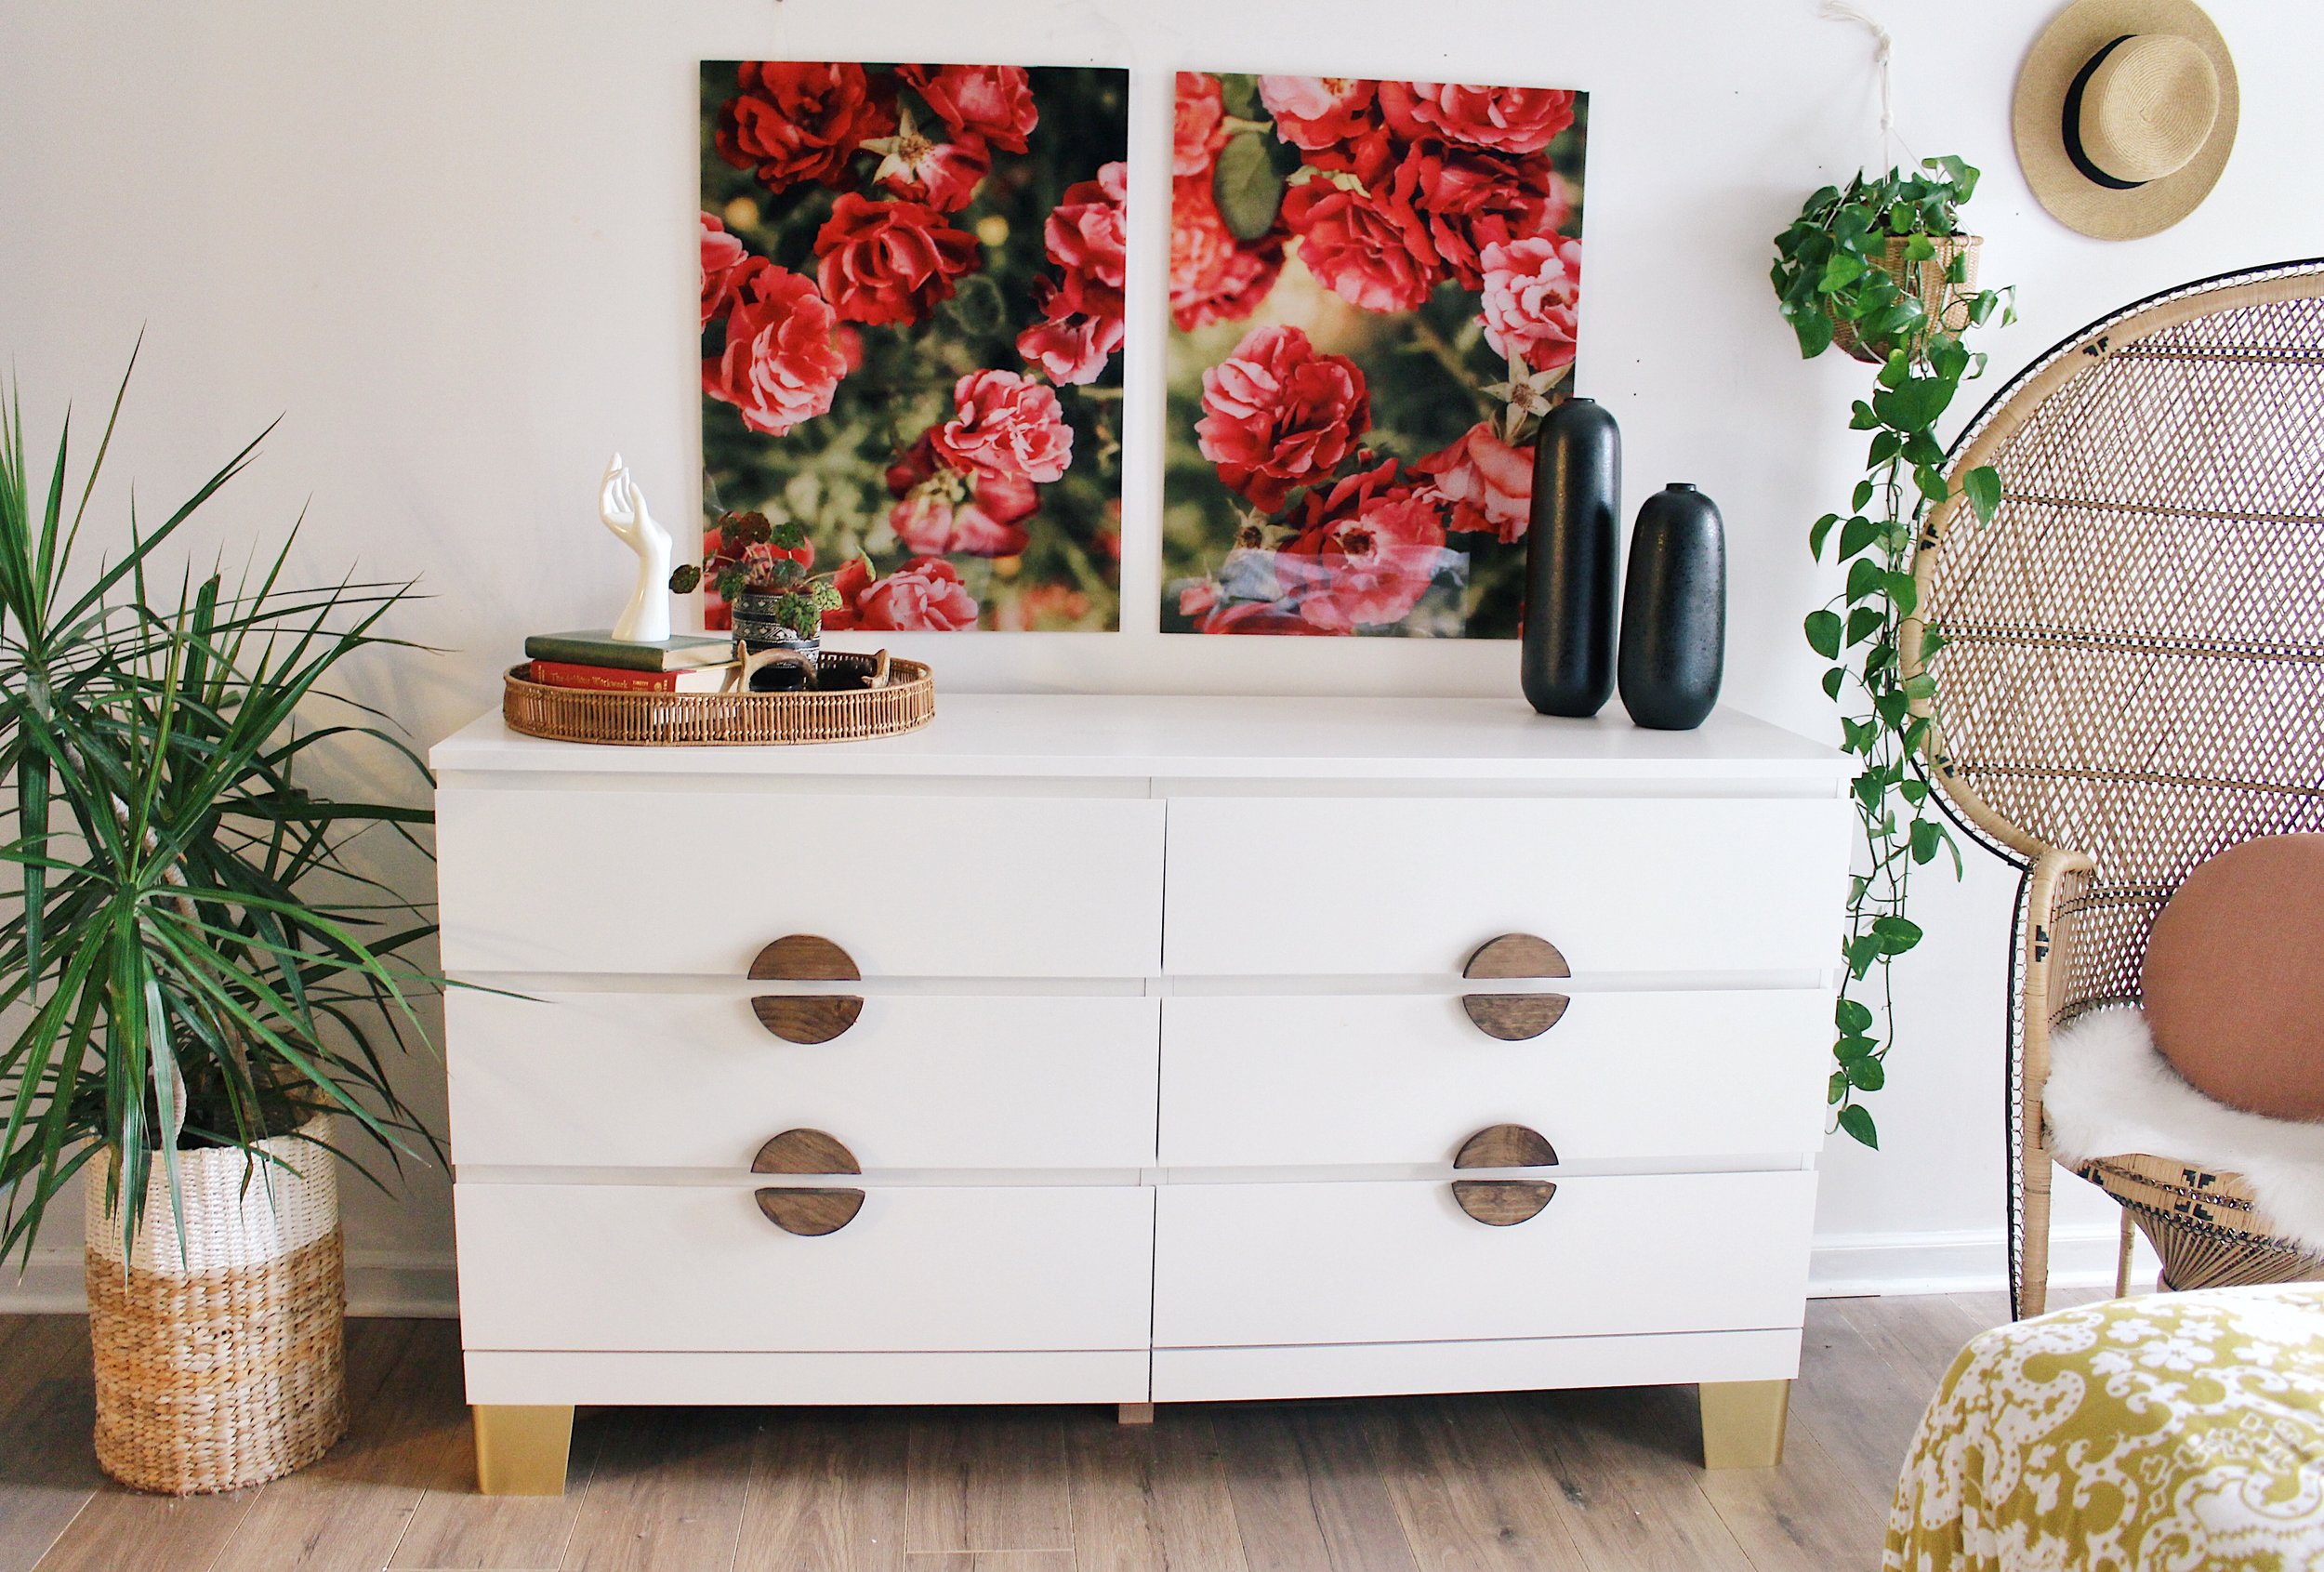
5. Decorate your wall with hats

WhatShouldIHangonMyWall?.jpeg

Have you been seeing this trend everywhere like I have? So fun and easy.  You can buy a simple hat rack from amazon, or do what I did in my bedroom and throw a couple nails in the wall to hang your hats on.  Use just a few hats like Sara Mueller did here, or cover your entire wall with hats! Both are equally stunning. Decorating your wall with hats is not only super cool and easy, it’s also practical, so there you go!


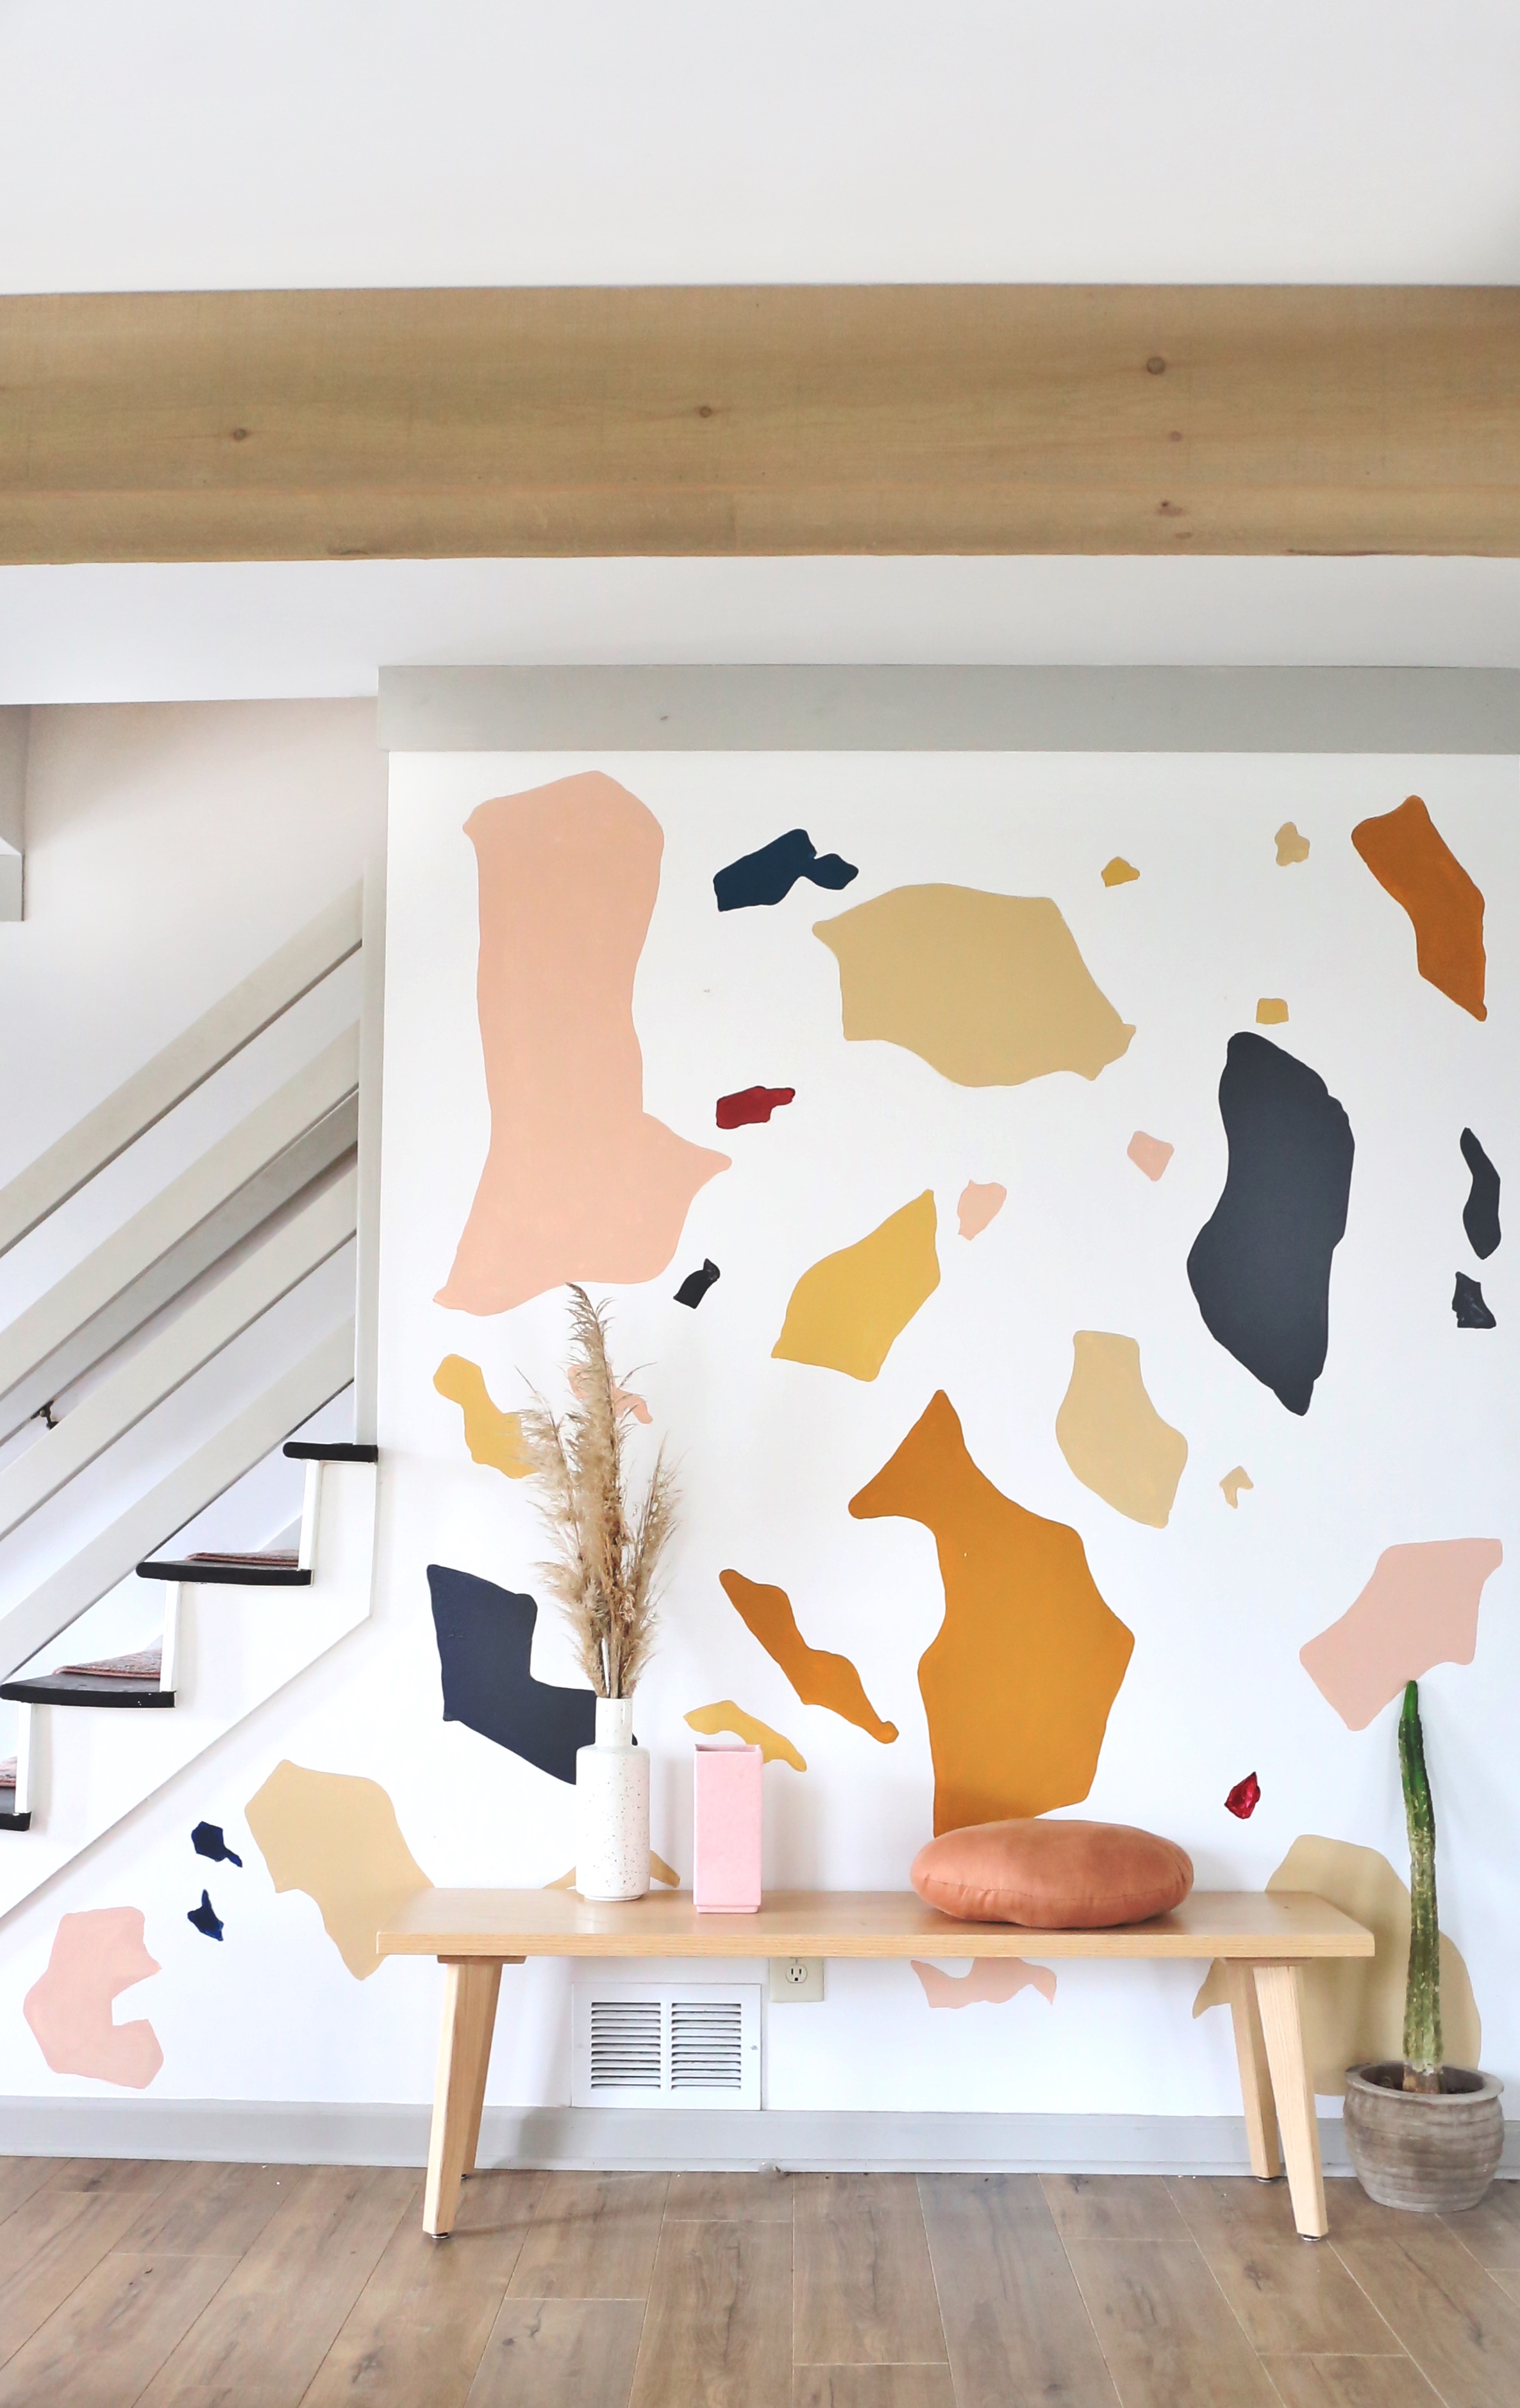
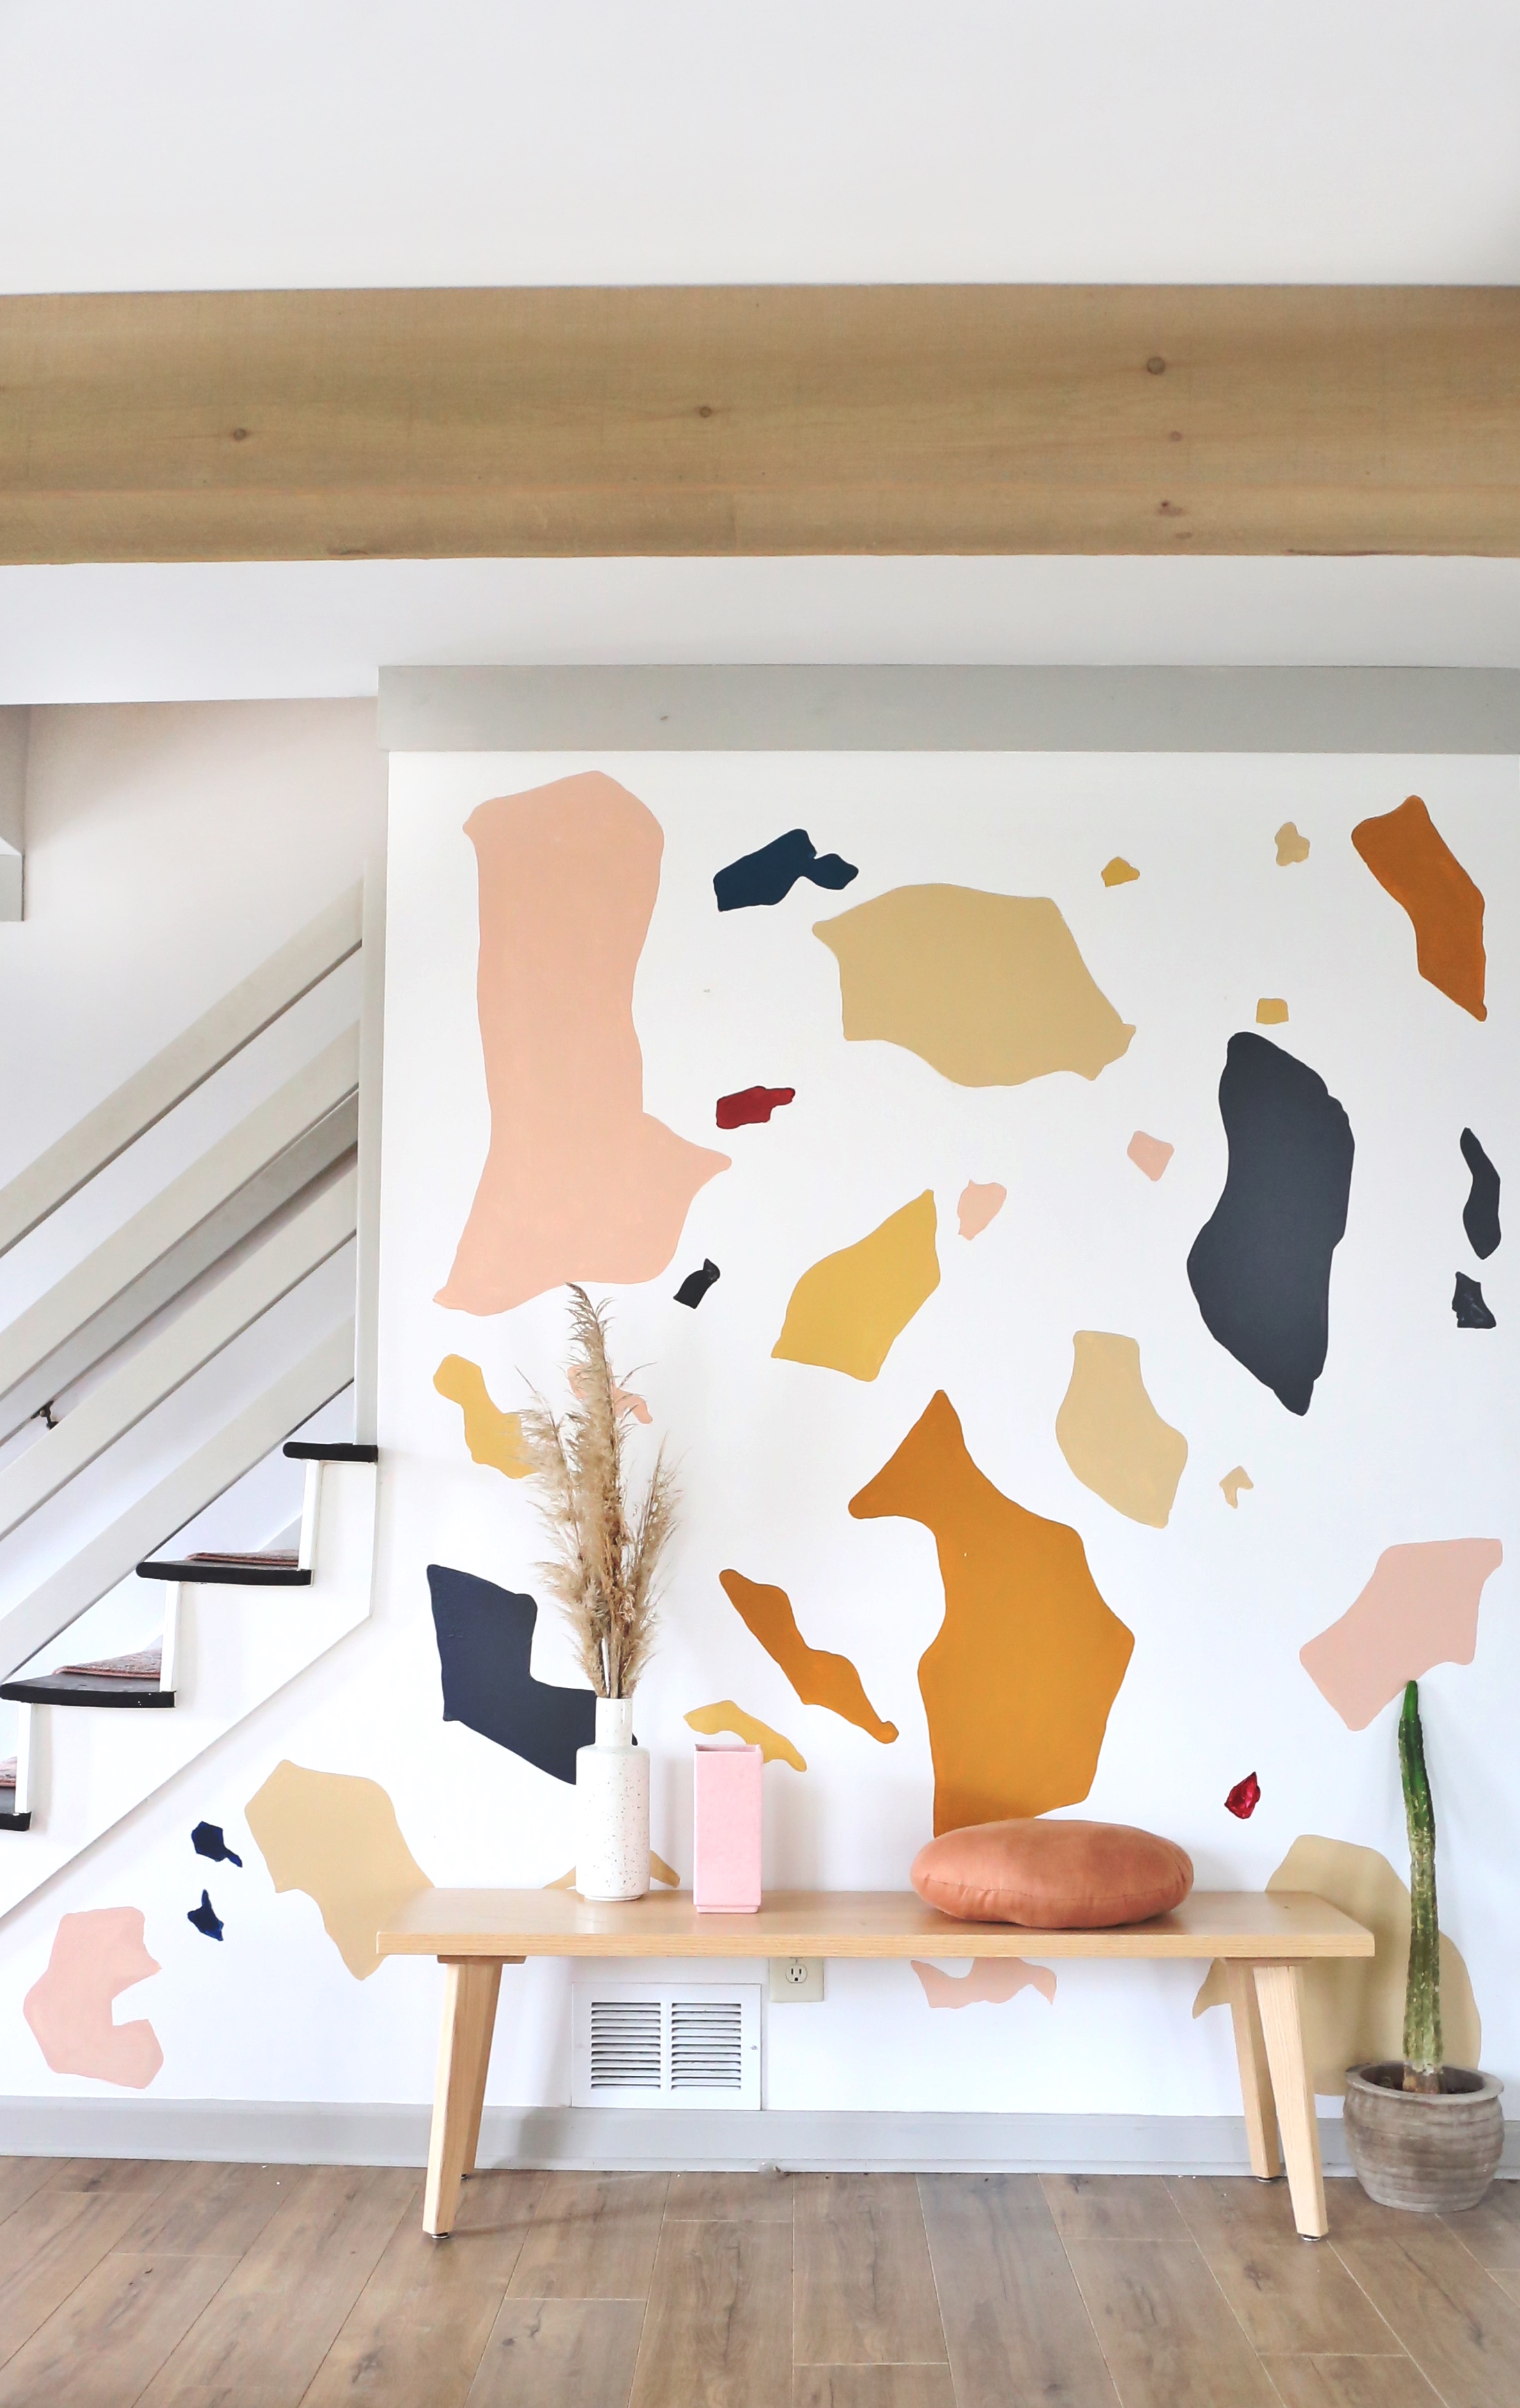
6. Paint a Wall Mural


diywallterazzo.jpg


Painting a Wall Mural is a fun way to transform an entire wall into a piece of art in and of itself.   There are so many amazing versions out there. Recently I painted this accent wall in a terrazzo pattern.  You can read all about the process HERE.   Painting your wall is an easy DIY wall art project that will really make an impact.

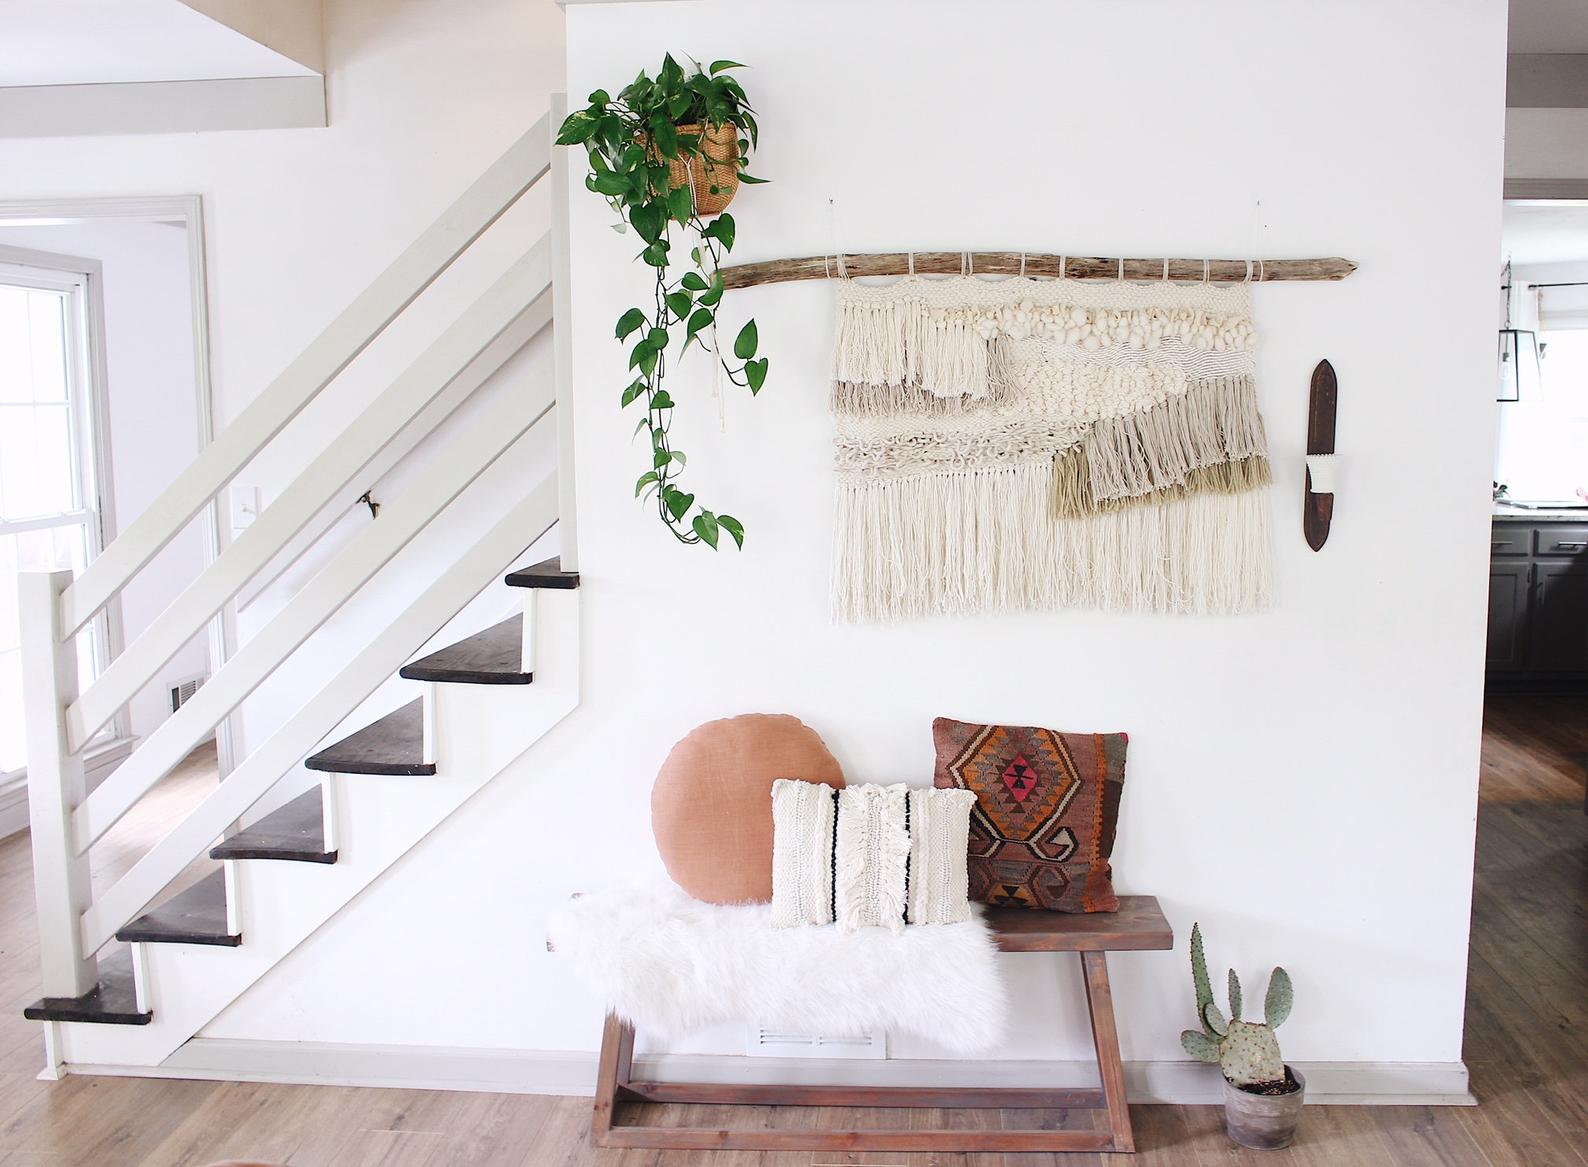
7. Decorate your wall using Macrame

DIYWallDecorations.jpg


Whether you purchase on Etsy, or make your own, the options are endless when it comes to macrame and weavings.   Fill in a corner of your wall, or make the macrame the focal point of the wall.  Either way, I’m still loving this breezy boho trend. The beautiful weaving you see here was made by my friend Happy Mountain Designs

8. Use washi tape to hang photographs 

Image Via Domino

Image Via Domino


For an easy wall decor DIY, hang your photos or prints on the wall using colorful washi tape.  I love how unexpected (and also temporary) this wall solution is.

9.  Decorate a large wall with a mirror collage

Image VIA House Beautiful

Image VIA House Beautiful

If you want to make a dramatic impact, try collection vintage mirrors and displaying them together to create a gallery wall.  An added bonus is that as the mirrors reflect light, they create the illusion of a larger room.

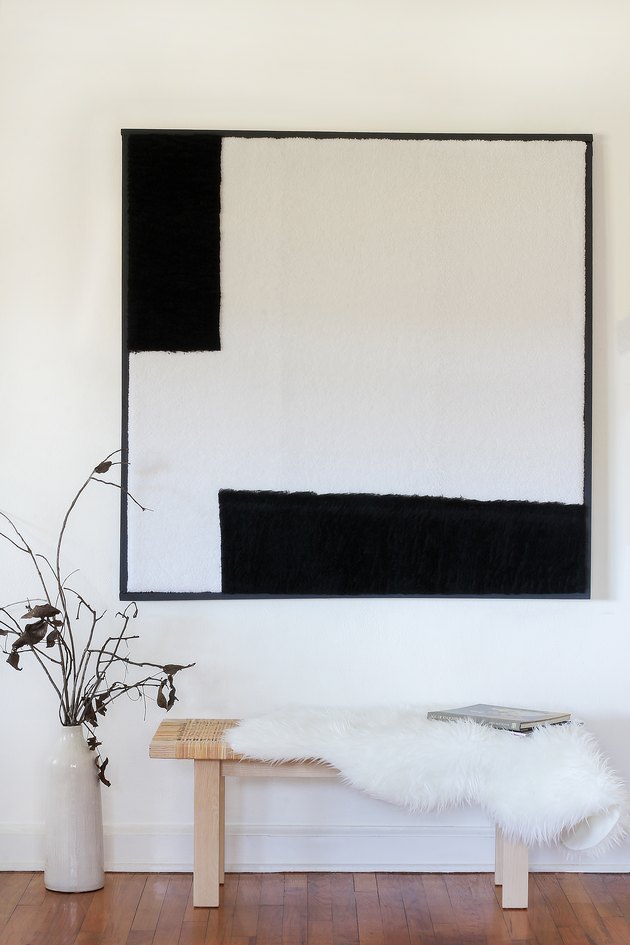
10. Frame fabric

fabric wall hanging.jpg

Another way to Decorate a large wall is to frame fabric. You could use a vintage piece, an authentic Batik, or try this simple DIY Mixed Media Art from Hunker Home.


I hope this article gives you some ideas of where to start next time you’re faced with that blank wall syndrome. Or maybe it’s sparked you own ideas of how to cover a large wall? If so, drop me a line below! I’d absolutely love to hear!


Interested in more decor ideas from House on a Sugar Hill? Here are some articles other readers have found interesting…

A Mother's Day Brunch with Bed Bath and Beyond

Find your tribe and love them well. When I moved to Atlanta, GA from Grand Rapids, MI 15 years ago, I was fortunate to make the move with a few of my sisters. They’ve been my dearest friends on this journey of life. These are the girls that have sat in waiting rooms during childbirth, showed up in the middle of the day to lend a helping hand, and been there for each other through life’s lowest lows and highest highs.

mothersdaybrunch.jpg

For Mother’s Day this year, I wanted to show them how much I appreciate who they are as women, sisters, mothers, and friends. What better way to celebrate our friendship than with some of the things we love best: beautiful aesthetics, delicious edibles, and enough time to span the conversations that are sure to ensue.

-705428375806388718_IMG_0617.jpg

Thankfully we are all helpless gardeners, so decorating was as easy as heading to the backyard armed with a pair of garden shears. Roses and False Indigo tumbled over the table, while spring ferns flanked the centerpiece, bringing the outdoors in.

6414854746630102647_IMG_0582.jpg

I was fortunate to be able to partner with Bed Bath and Beyond for our brunch, choosing pieces from their wide selection of entertaining dishes to create my table scape. Bed Bath and Beyond is a one stop shop for all your entertainment needs, and I was surprised by their variety of stylish choices. For me a table that mixes modern with rustic styles is such a classic combination, and Bed Bath and Beyond supplies both. I was able to order everything I needed online with one click without having to leave my house or shop multiple stores, and that to me is invaluable.

-3641699888575050080_IMG_0584.jpg

I chose a mix of black, white, and gold pieces, combining them with natural textures of wood, wicker, and marble to create a table setting that is classic and able to shine in a variety of settings and styles.

Facetune_02-05-2019-14-24-38.jpg

Notoriously untalented at creating beautiful cakes, I’ve finally found a style I can pull off, the rustic naked cake. Minimally iced, and flanked with garden flowers, my cake stood proudly on it’s modern stand.

-854975328363743876_IMG_0613.jpg

I kept the food simple. Rustic bread, a selection of meats and cheeses, and fruit to grab is all we needed for a satisfying brunch.

-7543739060085891425_IMG_0603.JPG

One of my goals for 2019 is to be intentional about prioritizing the relationships in my life. I’m so grateful for this time with my sisters, celebrating who they are as women, mothers, and friends! I encourage you to make the time to celebrate the ones you love! Below I’ve linked the items that I used to create this beautiful table setting. Head over to Bed Bath and Beyond, and get inspired by all the ways you can make your next event unforgettable!

ITEMS USED IN MY BRUNCH TABLE SETTING

This blog post was sponsored by Bed Bath and Beyond, however, all views, selections, and opinions are my own.

How to Install a corner Wall Shelf


Today I installed a Wall Shelf in my home all by myself. It was sturdy, completely level, and I’m 100% confident it won’t rip out of the drywall as soon as I place something heavy on top.

I share this, because for so many years I was too intimidated to hang anything that needed to be sturdy, whether wall shelves or curtains or lights, so I had to rely on my hubby to handle those tasks.

Not any more people! The process is simple, anyone can do it, and now I want to share it with YOU so you can have the same confidence to hang a shelf on your own as well.

Read More

Chattanooga Family Adventure


Traveling with a family of six can be overwhelming, both logistically AND financially. However, as a family, it’s something that we value incredibly high. A couple years ago we came up with the idea of Family Adventures, short day trips to destinations within driving distance, where we could discover new territories, try new foods, and most importantly spend time and create memories together as a family.

We now have many mini adventures under our belt, and the value it’s brought to our family is priceless. In my Family Adventures Blog Series, I”ll be sharing some of our favorite experiences, as well as tips to make traveling with kids more enjoyable.
Coolidge Park, Chattanooga TN

Coolidge Park, Chattanooga TN


Nicknamed ‘Scenic City’, Chattanooga is located in Tennessee, just north of the Georgia border. Nestled on the Tennessee River, and surrounded by mountains and ridges, we choose Chattanooga as our November Family Adventure destination.

Before we even began the trip we were dealing with some preteen shenanigans. There is nothing quite like investing time and money in travel just to have it sabotaged by an adolescent attitude.

parenting travel tip (2).png

The certain someone we were dealing with that day happens to be highly motivated by money. So before we began the trip, we sat everyone down and gave them $10 a piece to spend however they’d like, whether at the museum gift shop, or to buy a treat, whatever they choose. The catch? Anytime they were caught complaining or fighting, they lost one dollar. It was a brilliant endeaver. We had zero issues on that trip, and very very happy kids to boot.


Chattanooga is an easy two hour drive from Atlanta, and we arrived in the city just in time for lunch.

GOOD DOG, Chattanooga TN

GOOD DOG, Chattanooga TN


Our first stop was on the North Shore of Coolidge Park. We rolled into the kid friendly restaurant GOOD DOG. GOOD DOG whips up a variety of gourmet style hotdogs, served classic how my kids like it (and for $3 so Yay!), or topped with unsuspecting combinations like the Dutch Dog, served with curried ketchup, gouda cheese, onions and peppers, and covered in fries (oh my!!). Their loaded frites are are amazing as well. I love that they also offer vegan and gluten free options, truly making this an affordable stop for the whole family.


GOOD DOG, CHATTANOOGA TN

GOOD DOG, CHATTANOOGA TN


After lunched we crossed the Street to Coolidge Park, a riverfront family recreational area. Right there in the park sits the restored 1894 Dentzel Coolidge Park Antique Carousel. With 52 whimsical hand carved animals, lovingly restored for the city, and a calliope organ as well, it truly was a magical place to spend a part of our day. Rides are just $1.00 so you can your heart out without breaking the bank!

Coolidge Park Antique Carousel, Chattanooga TN

Coolidge Park Antique Carousel, Chattanooga TN


Also in Coolidge Park are the outdoor water fountains, which were off season at the time, but still fun to climb and and play pretend with all the large animal statues. Just beyond that is a pedestrian bridge that crosses the Tennessee River over to the South side, a great way to get in some exercise in for the day.


COOLIDGE PARK, CHATANOOGA TN

COOLIDGE PARK, CHATANOOGA TN

IMG_0928.jpg

After exploring the park, we drove up Lookout Mountain to Chattanooga’s Prized landmark, Ruby Falls. Ruby Fall’s is the nation’s tallest and deepest underground waterfall open to the public. Located 1,120 feet underground, a visit to Ruby Falls includes a guided tour through the cave, and offers breathtaking views of magnificent cave formations as you walk through the narrow winding passages towards the Falls. The walk is about a half mile each way, with some of the paths getting narrow. Take note if you or someone in your party suffers from claustrophobia, they could have a problem in the cave.

IMG_9840.jpg

For us, the trip was well worth it, especially because our boys are very much into geology. It was truly wondrous to experience nature underground.


After the Falls, we drove to the nearby Incline Railway, which is over 100 years old and whose track is on a 72.7% incline, one of the steepest passenger trains in the world. The train runs up and down the mountain about every 20 minutes and carries passengers from the top of the mountain to the bottom to explore the shops below in St Elmo. Not gonna lie, I had butterflies boarding the train as I stared down the steep side of the mountain, but the train ran slow, and soon I forgot me fear as I took in the breathtaking views of the city as the sun set and the moon rose over Chattanooga. It was absolutely worth the experience, and we’ll do it again next time we visit. The train runs daily from 10 am to 6 pm and a round trip ticket is $15 for adults and $7 for kids.


IMG_9682.jpg
IMG_6885.jpg

For dinner we hit up the local 5 Guys, which was very untouristy of us, but we were hungry and tired and overwhelmed by all the options. After we regained our energy we headed to our final destination, the historic Bluff View Art District, to grab a dessert and a coffee before hitting the road back to Atlanta.

IMG_9691.jpg
IMG_6907.jpg

We found the sweetest chocolatier shop right next to Rembrant’s Coffee House, a European style cafe offering in-house roasted coffee and hand made pastries. As the sun went down, the Art district seemed to be waking up. As much as we wished we could have explored more, our kiddos were tired out so we climbed back in the car and began the drive home.

IMG_9687.jpg

Chattanooga had SO much to offer, much more than we could have experienced in one day. We’re already planning another trip back to see everything we didn’t have time for like the aquarium, Rock City, and the Children’s Museum.

 
CHATTANOOGA, TN (1).png
 

Bedroom Makeover week 5

Wow! What a transformation in this room! We are almost finished, and I’m so grateful for the One Room Challenge proving to me that I truly am capable of finishing a space from start to finish in a just a few weeks time. In the past I’ve let my projects drag on indefinitely, so finishing one this quickly is absolutely empowering!

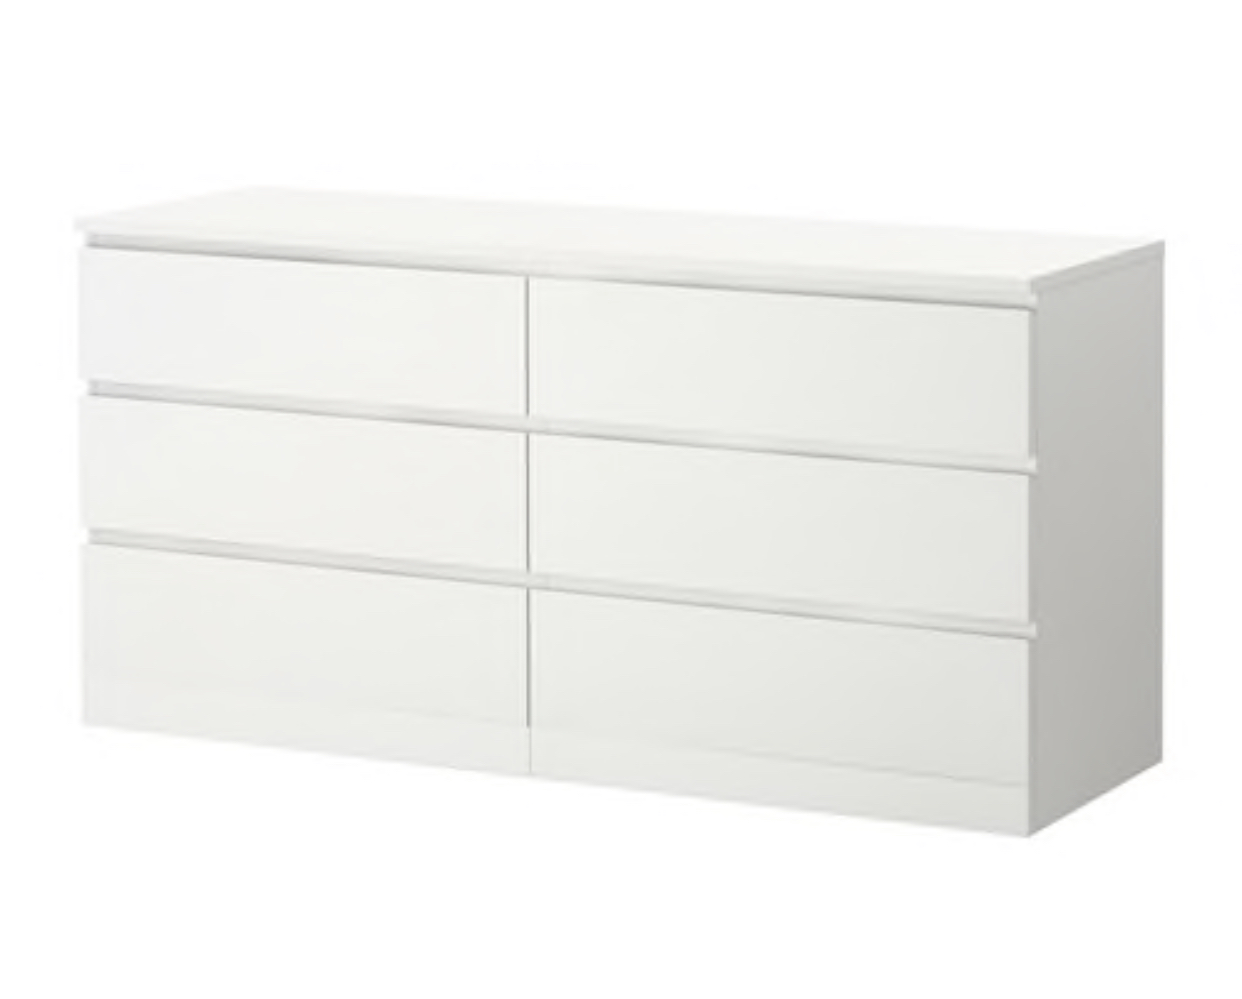
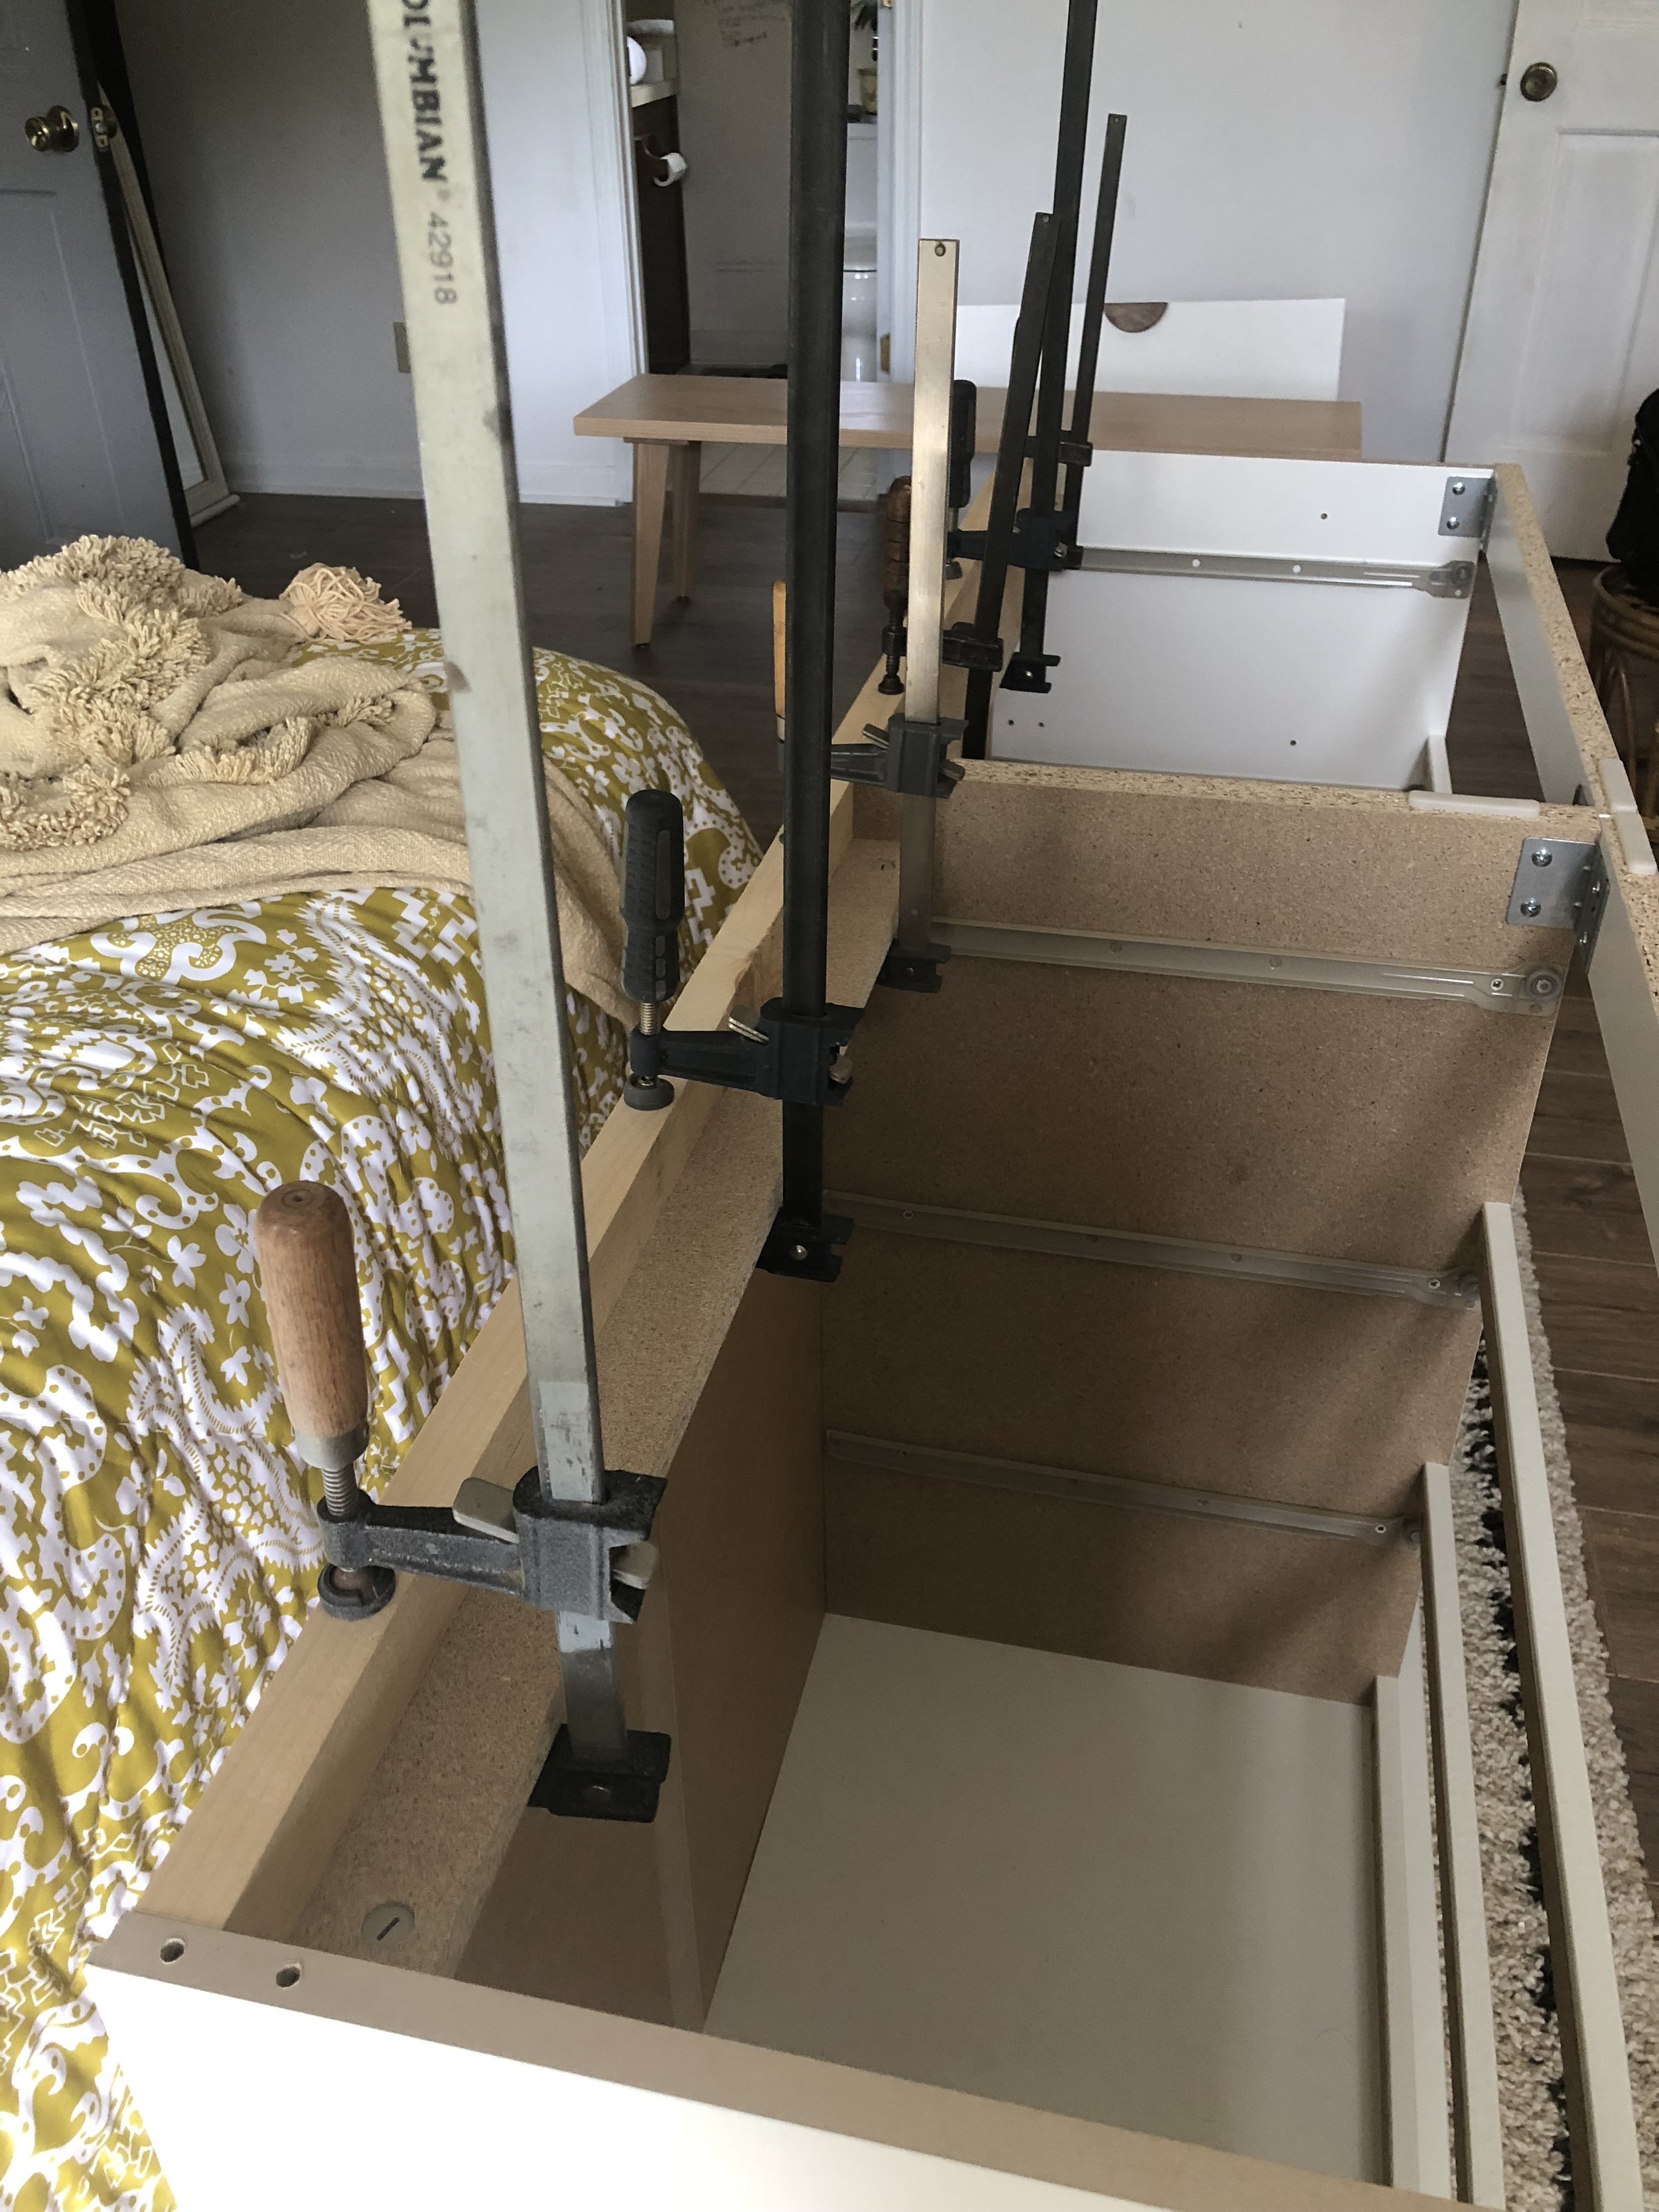
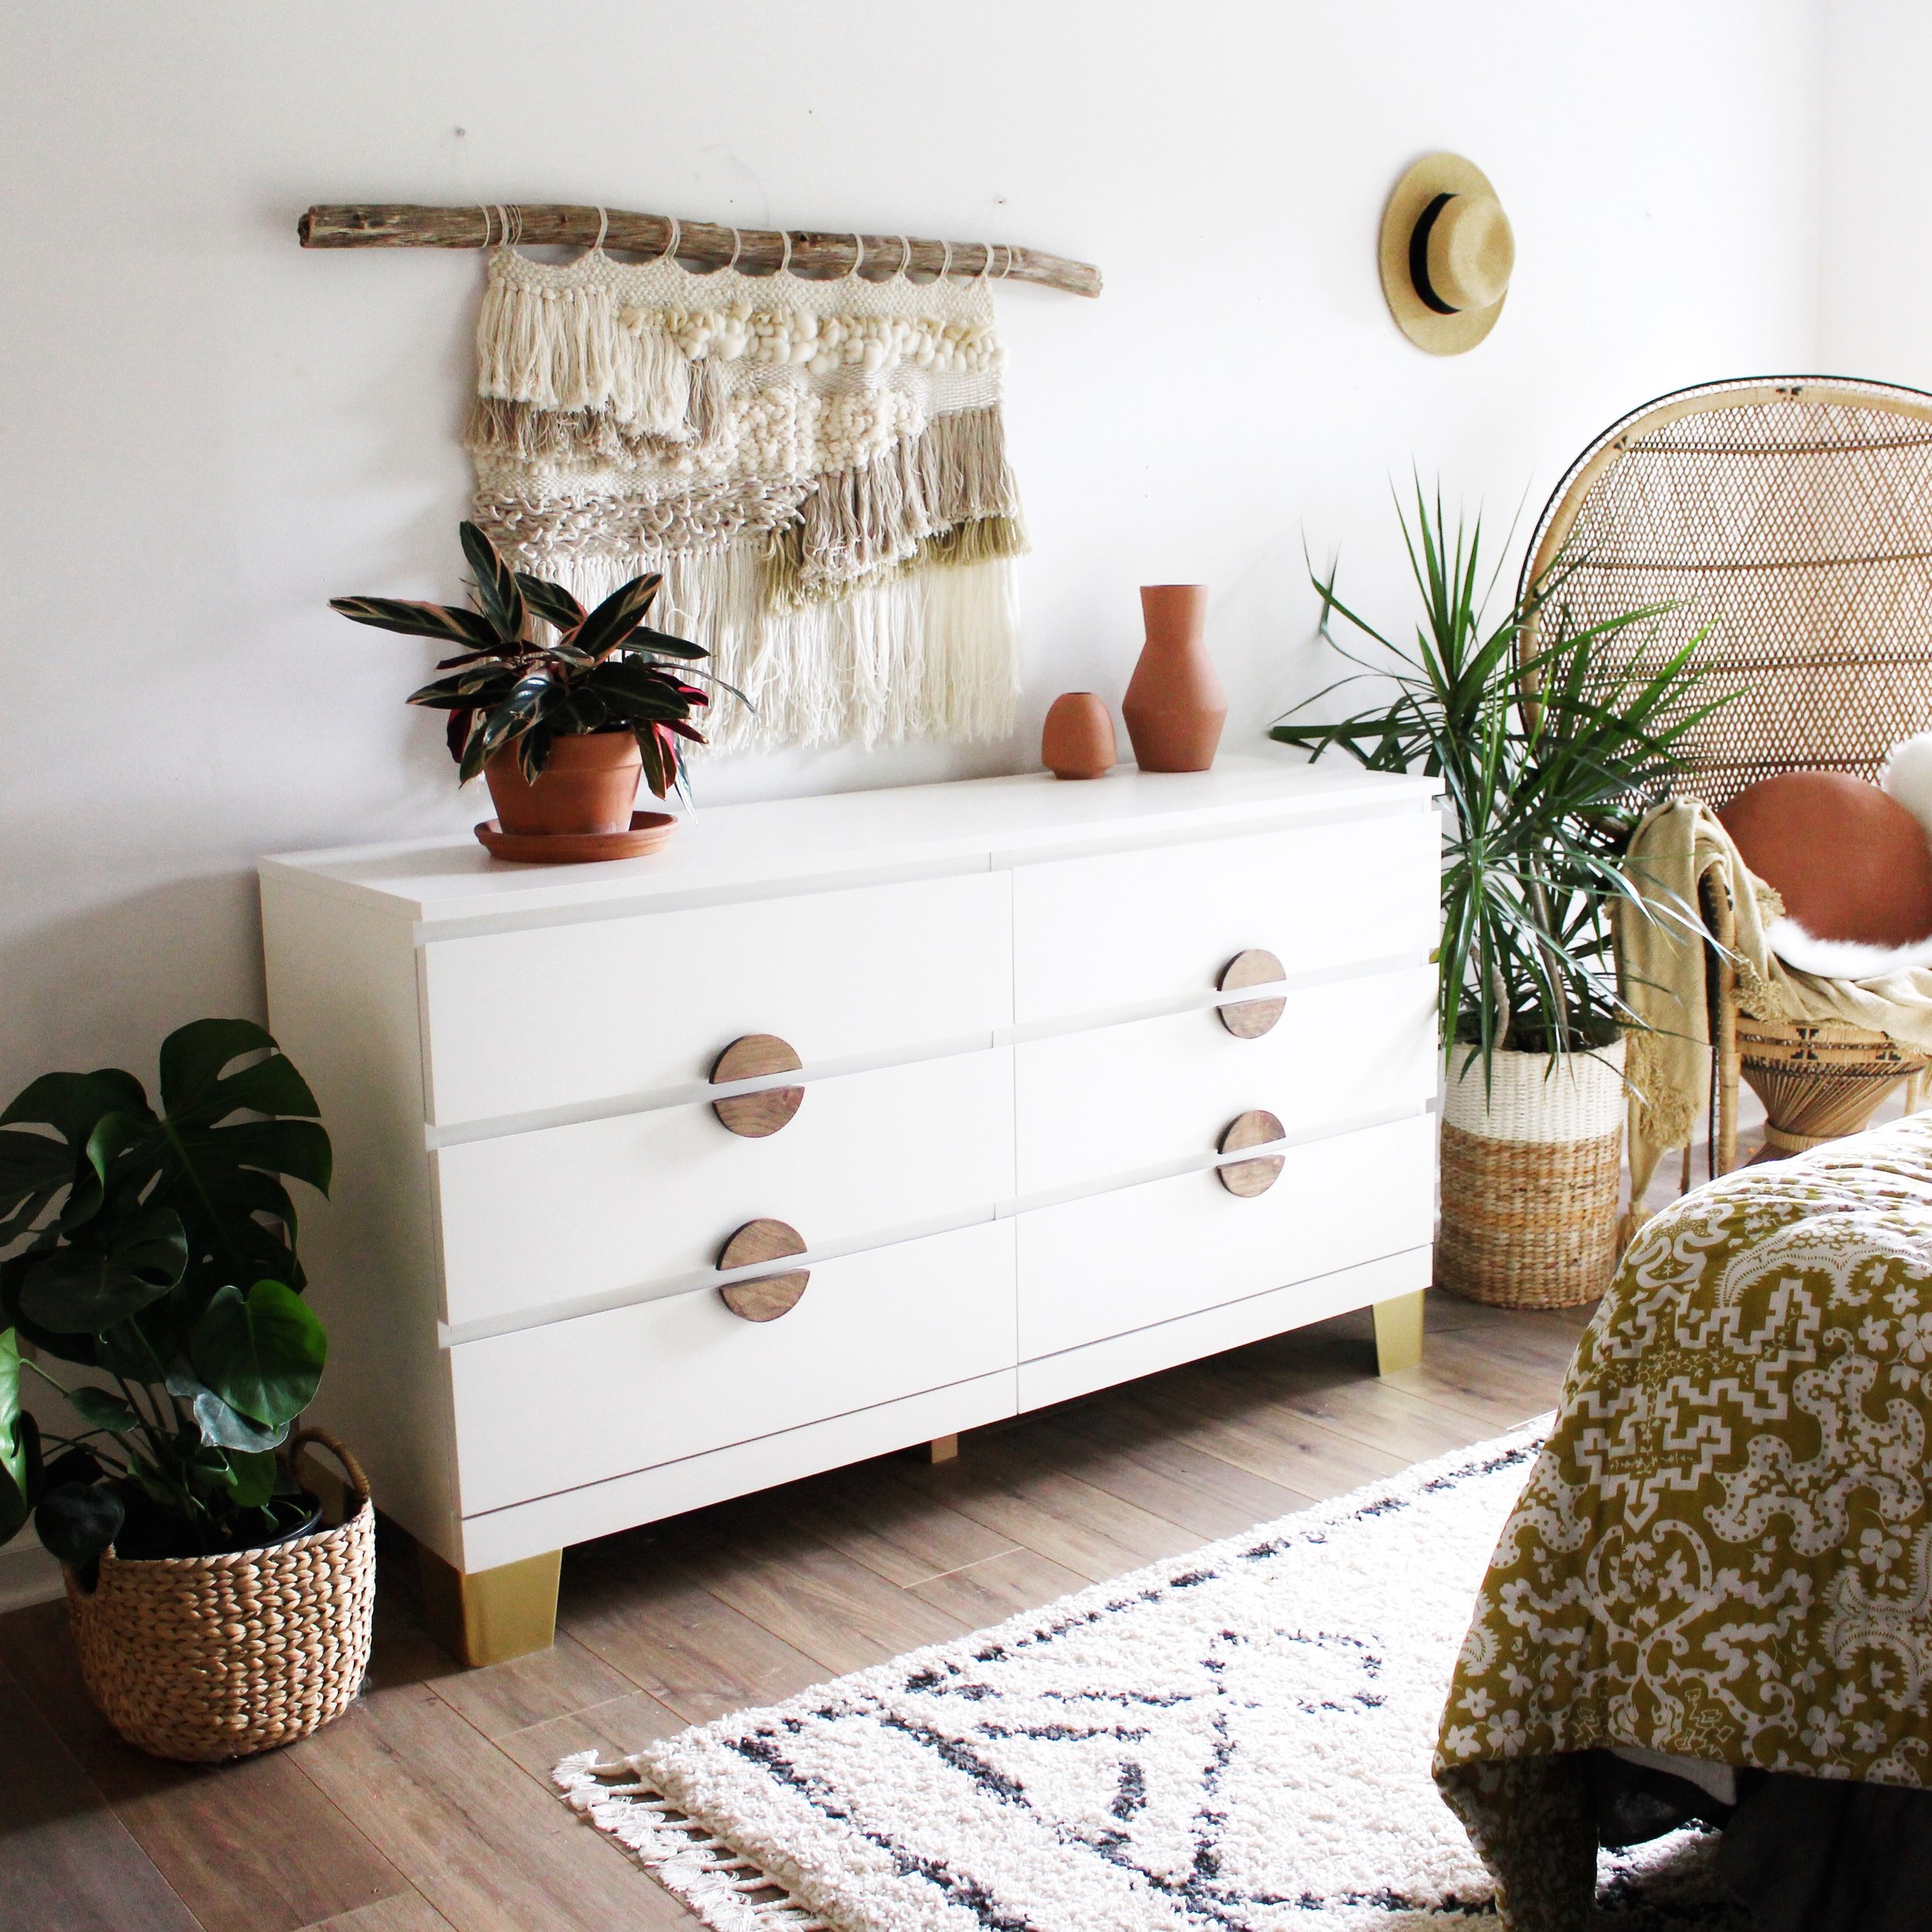
At the beginning of the week, I assembled the girl’s dresser! It was quite a project and took the whole morning to put the piece together, but it’s perfect in the space, and I can’t wait to spend some time styling it this week!

IMG_6345.jpg

Next, I painted all but the accent wall white, a sure fire way to brighten and clean up a space. The ceilings in this room are tray, and with the walls and ceiling the same color, it definitely makes this room feel taller.

On Friday, Isla and I put together both of the girl’s beds. They were surprisingly easy to assemble, and add just a touch of girliness to the space without being over the top for my two tomgirls.

IMG_6340.jpg

Last we added in the area rug. In my idea board it was too busy, but in reality it’s not too much. Just a little bit more pattern than I would normally be ok with, but sometimes it’s good to put something in your space that’s a little ‘off’. The imperfectness of it all lends a bit of unexpected personality, so I’m quite loving it all together! Although as much as my girls may fight me, I think I might need to change our their mustard pillows for some pink ones to tie the rug color in.

I’ve had some amazing partners sponsor the bedding in this room, and I’ll be honest, these beds are so comfy they revile my own. It makes my heart so happy to tuck the girls in bed at night surrounded with the softest sheets and blankets. I cannot wait to share with you all the details.

IMG_6343.jpg

This week is the final week of the challenge. I’ll be busting my tail trying to finish up the space.

I’d love to instal a wall sconce between the two beds, as well as some art. Style off the big dresser, and also add a small dresser in between the beds for extra storage.

My plan was to have a bench at the foot of the bed, but I don’t think there’s going to be enough space, so I’ll be skipping that for this project.

I’m already in love with the space, and absolutely cannot wait to share the finished product with you all next week!


Cheers!

Jodi

Click HERE to follow all the amazing projects happening on the ORC blog this week!

Click HERE to follow all the amazing projects happening on the ORC blog this week!

Week Three (and Two, and One) of ORC bedroom makeover

Lord, I am Queen, I mean QUEEN of last minute, what the heck, couple weeks late, let’s take on the challenge, cause why not!!

Dear Jesus, you’re gonna be with me, right!?

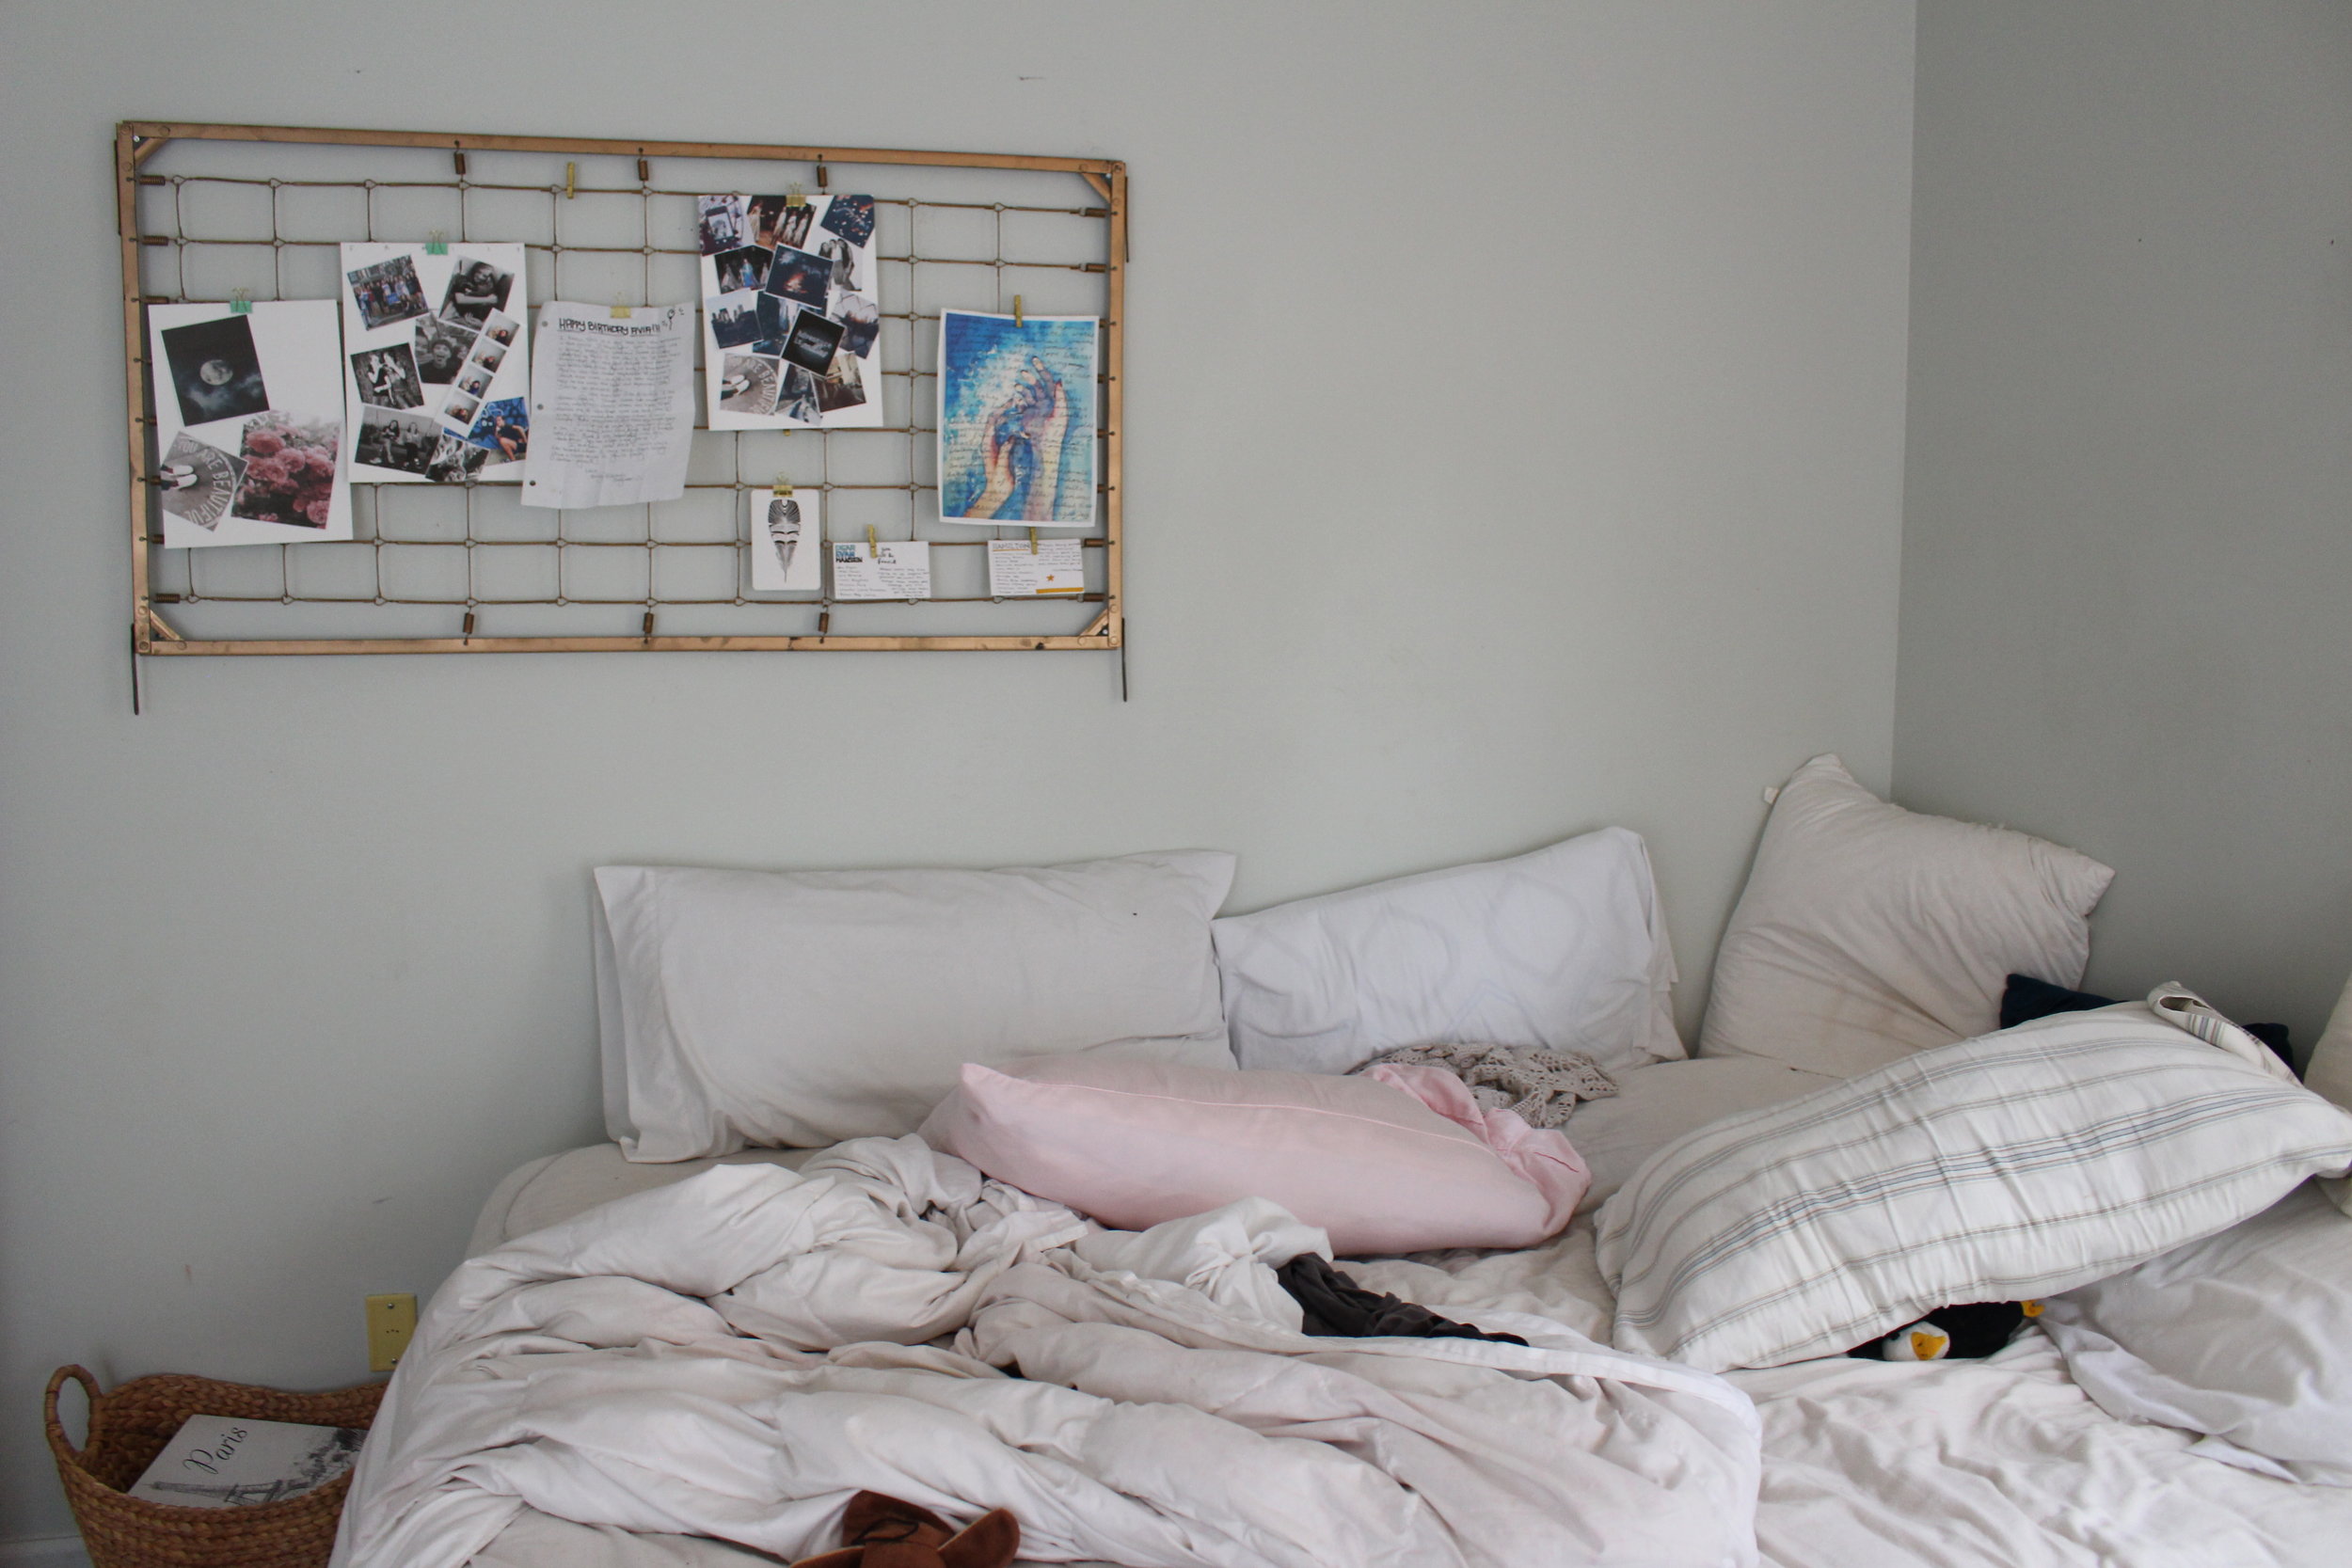
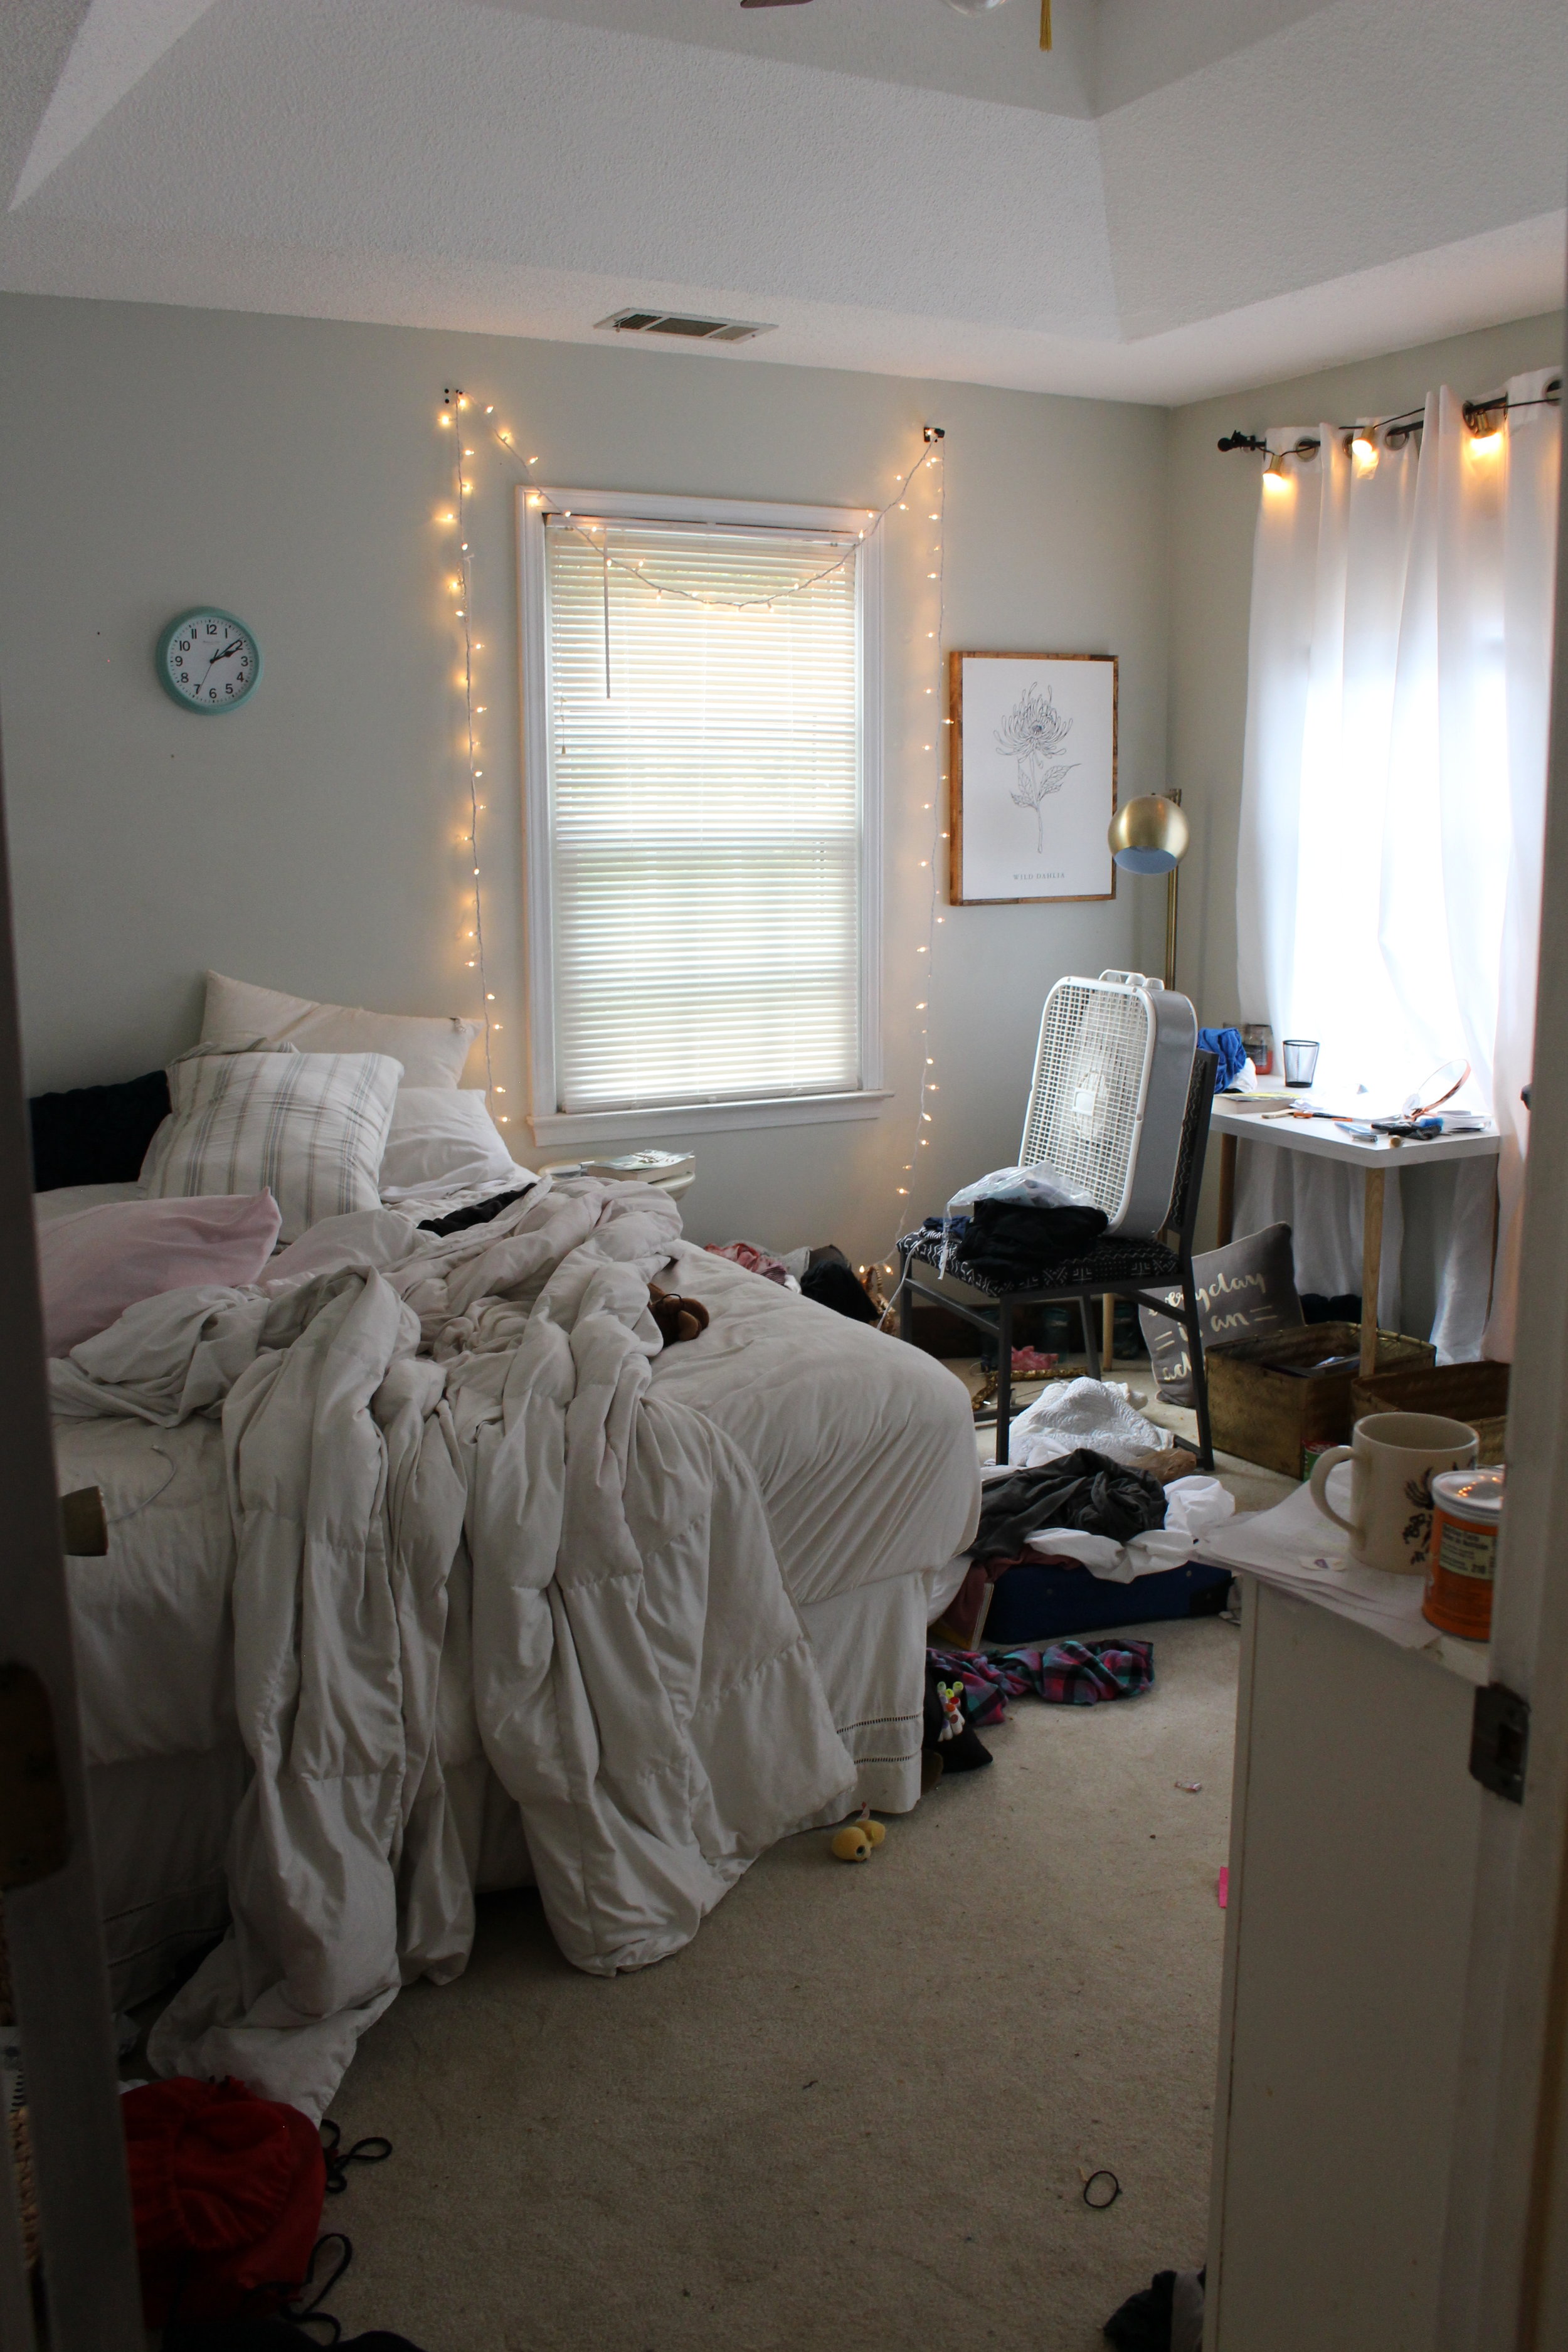
But my girl’s room people, it is in total and utter devastation. I’m too intimidated to take it on without some external kick in the pants, so here we go. Thank you in advance One Room Challenge for how much you’re gonna make my life suck these next three and a half weeks. We’re gonna create beauty from an almost literal storm.

Ready for the game plane?

IMG_5846.JPG

Currently my girls, ages 13 and 4, SHARE a queen size bed! Bless my teenagers heart, she truly is a saint, but I am an a mission to change this sleeping situation! I stumbled across one of these beds selling on Craigslist for $60, and I scooped it up! I purchased the matching bed online at Walmart, and these two were the building blocks for the room.

My daughter is all about those city vibes, so she choose the brick wall mural from MuralsWallpaper, which I think will set the stage nicely for a loft style bedroom. I plan to keep the rest of the decor earthy and naturally toned. The blue rug is from BoutiqueRugs.com and we picked it out a few months ago in anticipation of a room makeover.

I’m going to keep their linens simple, since there’s enough texture and print happening in the room, and maybe just finish it off with a couple of matching throw pillows to tie the space together.

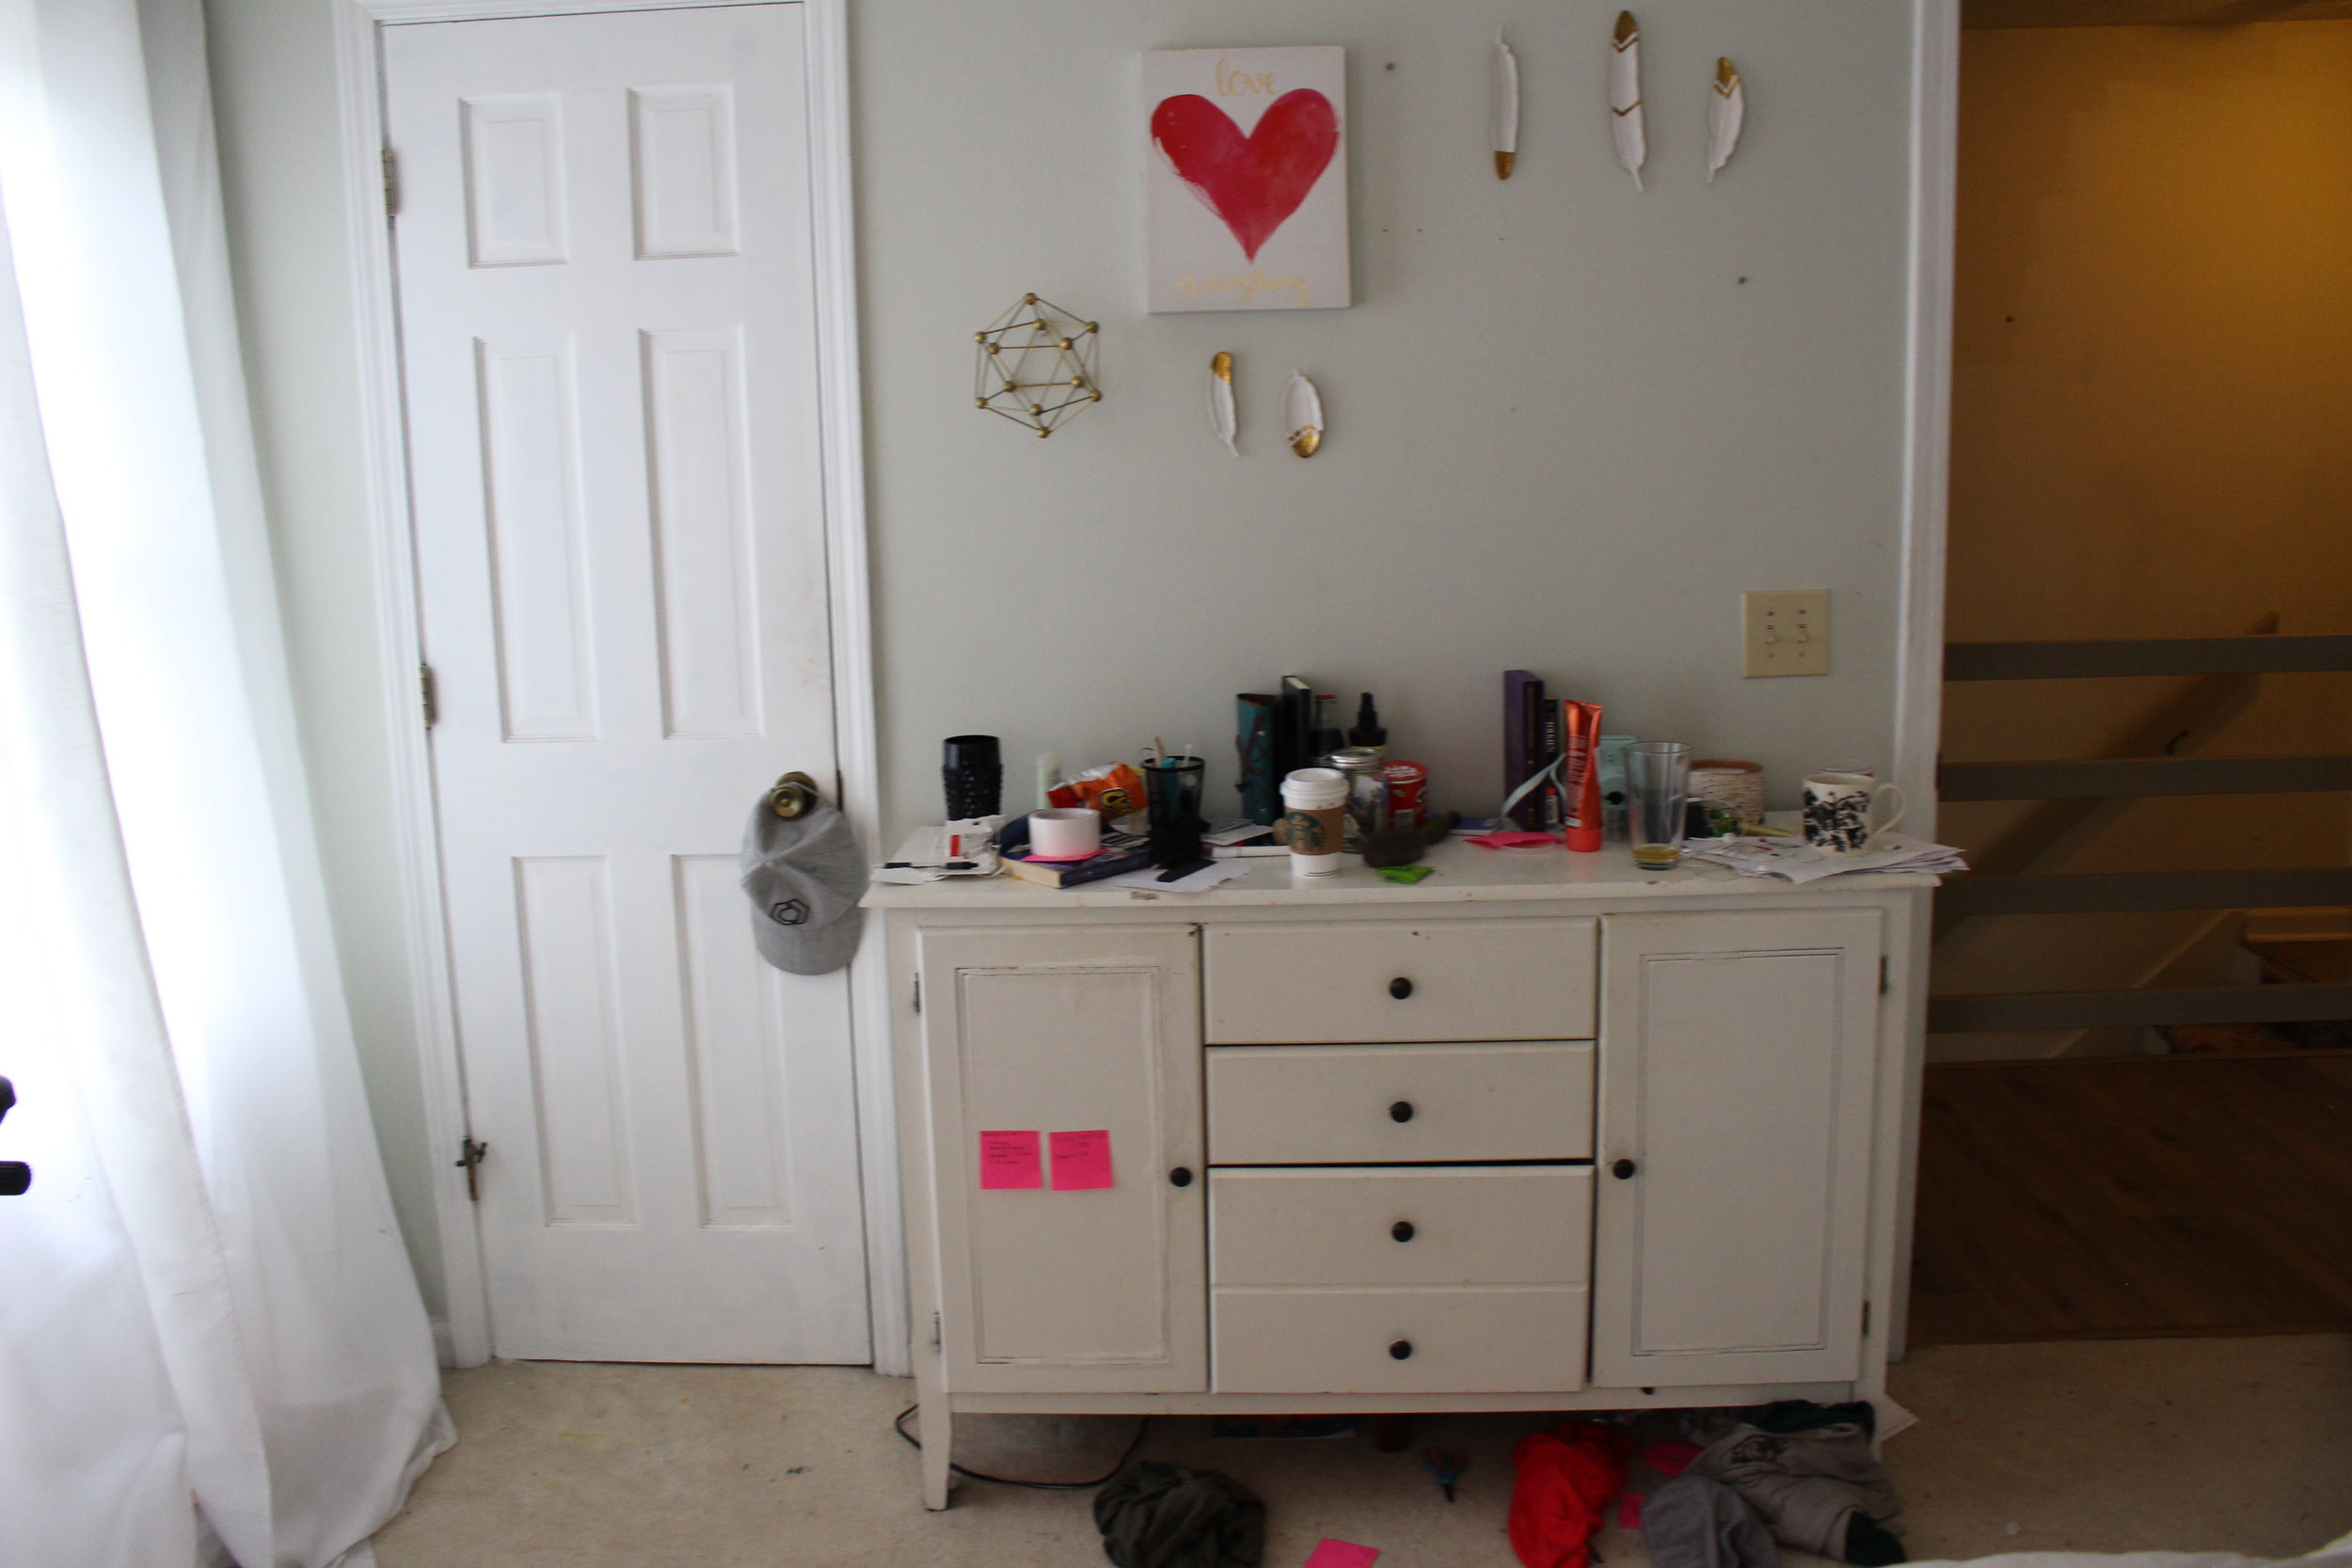
Okay, ready to see where the challenge comes in? Gulp! Side note, I’ve asked my daughter to clean her room every day for the past week, and this is how good it’s gotten.


Ok, so what can I say? She’s a bit sentimental and doesn’t like to throw anything away! I think Momma’s gonna have to tackle this challenge during the week while she’s in school! Wish me luck friends. This is nutso!


Cheers!

XO -Jodi

BE SURE TO CHECK OUT ALL THE GUEST PARTICiPaNTS AND All the latest entries!

BE SURE TO CHECK OUT ALL THE GUEST PARTICiPaNTS AND All the latest entries!

A couple links contain affiliate links, and I’ll get a little somethin’ somethin’ if you purchase! Thanks in advance!

Breakfast Nook Refresh


It’s amazing how a few little tweaks can change the feel of a space in a big way. 

CE3E3080-6B30-4384-A489-1EE0C210C68D.JPG

 Our breakfast nook is the place in our home where the kids do all their homework, where all the arts and crafts happen (zoom in real close on the old kitchen table and you'll see it's covered in paint and permanent marker stains), and as the name suggests, where we all eat breakfast as we're getting ready for the day. 


While there was certainly nothing wrong with this space, it was definately lacking style.  It also had a bit of a farmhouse feel which I've been trying to phase out of this house.

Someday soon, I’d love to take the whole fam to Paris, and I wanted a look that represented that. A look that would help keep my dreaming alive. Tres Chic was the vibe I had in mind, as I excitedly began my idea board. 

Facetune_29-08-2018-15-25-15.JPG

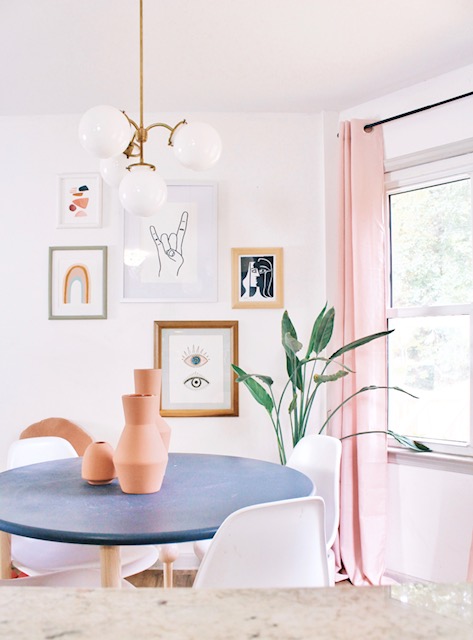
First step was lighting. I knew I wanted a vintage globe style light, but one that was more delicate than most of the midcentury lights I was seeing around.  I found the sweetest Etsy shop, Pepe & Carol's, who's handmade lights stood out with a vintage classic look but with a flare towards the feminine.  I choose this Glass Globe Waterfall Chandelier and I feel like it sits in the space beautifully. 

Next step was to replace the art.  I wanted a gallery wall with a mix of graphic and lighthearted prints in vibrant pastels to climb up the wall in an irreverent pattern.  Snoogs and Wilde has some of my favorite prints so I added two of theirs to the art collection. You can find those prints HERE. The rock on print in from Urban Outfitters which you can find HERE. I hand painted the little rainbow, and the Picasso replica is from Etsy.  I had fun one morning heading to the thrift store and picking out a bunch of vintage frames to use for this gallery.  Most cost around $2 so it was an incredibly affordable way to create a gallery wall, plus it adds the kind of lighthearted character that I value so much.

E277D620-365B-4EDD-A096-5CDB38CB6174 (1).jpg

We decided to keep the current chairs that we had in the space, but we knew the table needed to be replaced.  Because I was on a budget, I opted for an easy DIY using Pretty Peg table legs, and a table top that I found on Craigslist for $20.  Pretty Pegs supplied all the hardware for the legs, so it was as simple as painting my table top and then drilling the mounting plates for the table and screwing them in.  In the end we created a solid wood breakfast table for under $150. 

D2535DC9-3FF4-4DC6-B2B7-A8ACB7EFC877 (1).JPG

Finally it was time to put all the pieces together! The round jute rug under the table was a happy mistake. I ordered it for a different room but didn't love it there, so I rather haphazardly put it under the table, and it ended up being perfect.  Isn't the texture so good? The rug is from overstock, and you can find it HERE. 

I sat our Walnut and Oak bench under the gallery wall which is just inside the entry from the garage. It's slightly wider than your average bench, and beyond sturdy. We use it in the mornings to hold book bags and it's also the perfect size to sit down and put on shoes.  

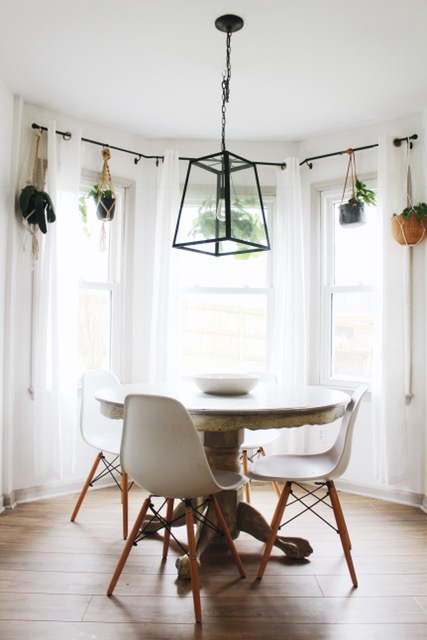
Lastly, the pink curtains were somewhat of a chance.  I hung them up before the refresh was finished and was like "Nope, pink curtains don't belong in the kitchen." But after all the other pieces were in place, it was the pop of pink that ended up pulling everything together. I'm absolutely obsessed. You can find similar HERE.  Also, lots of people ask about those curtain rods, yes, they are designed specifically for bay windows.  You can find similar HERE.

Facetune_14-09-2018-09-12-31.JPG

And there you have it.  I hope you enjoyed this little breakfast nook tour.  If you have any questions or comments, please drop me a line!  All sources are listed below!

Xo, Jodi

Jute Rug         Dining Chairs         Curtains         Curtain Rod

Bench           Chandelier          Art Prints         Table Legs


LABOR DAY SALE PICKS

LABOR DAY SALE PICKS!

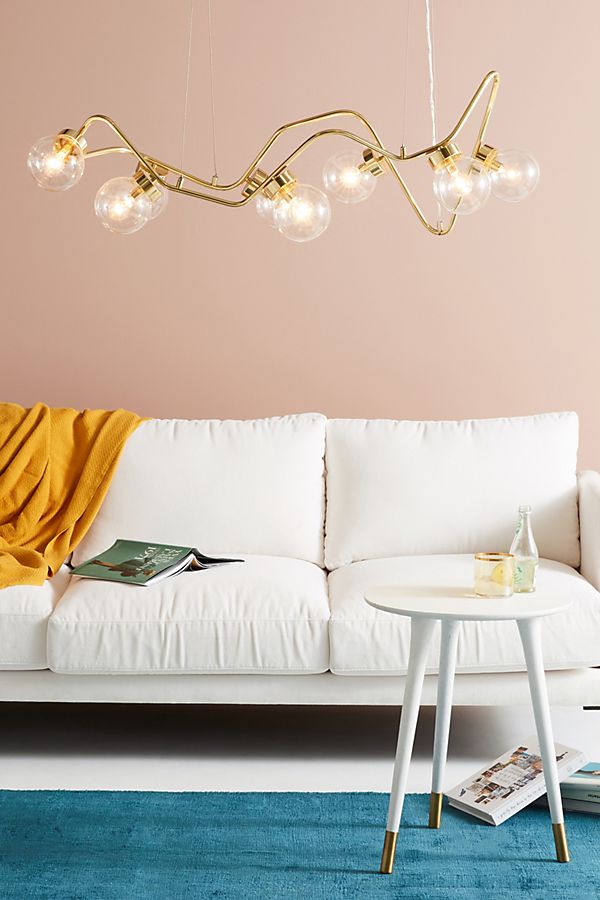
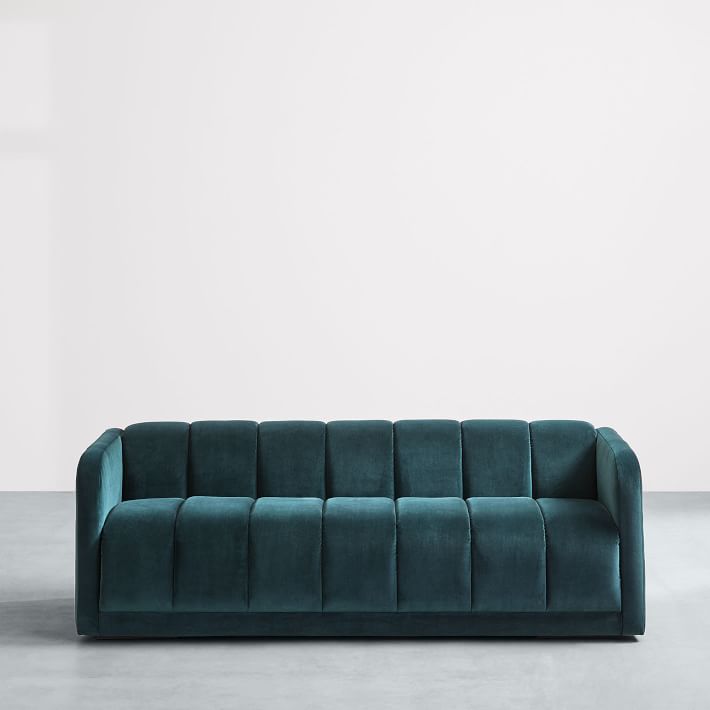
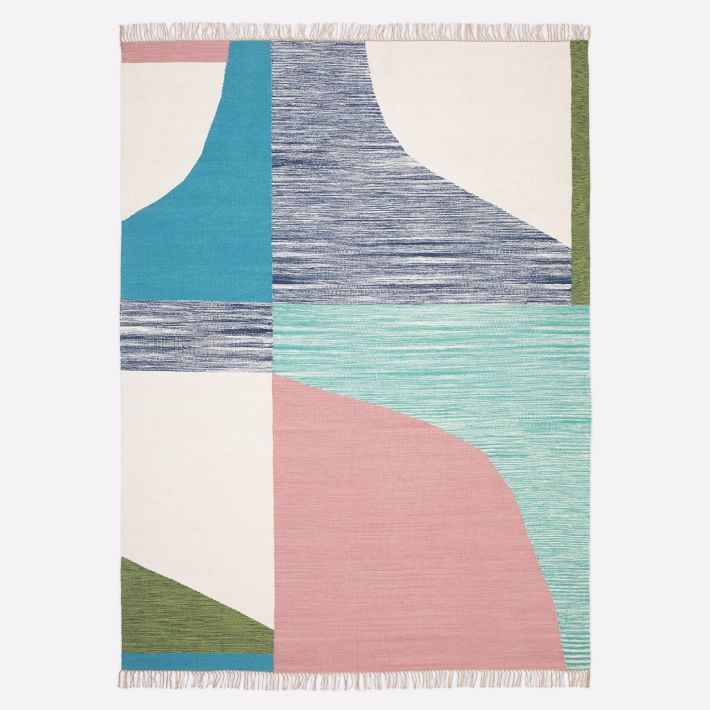
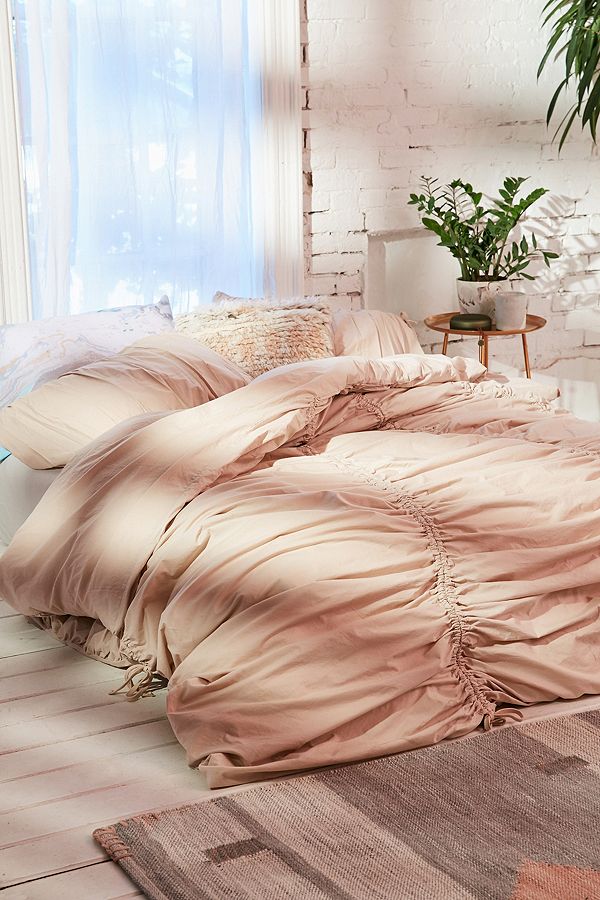
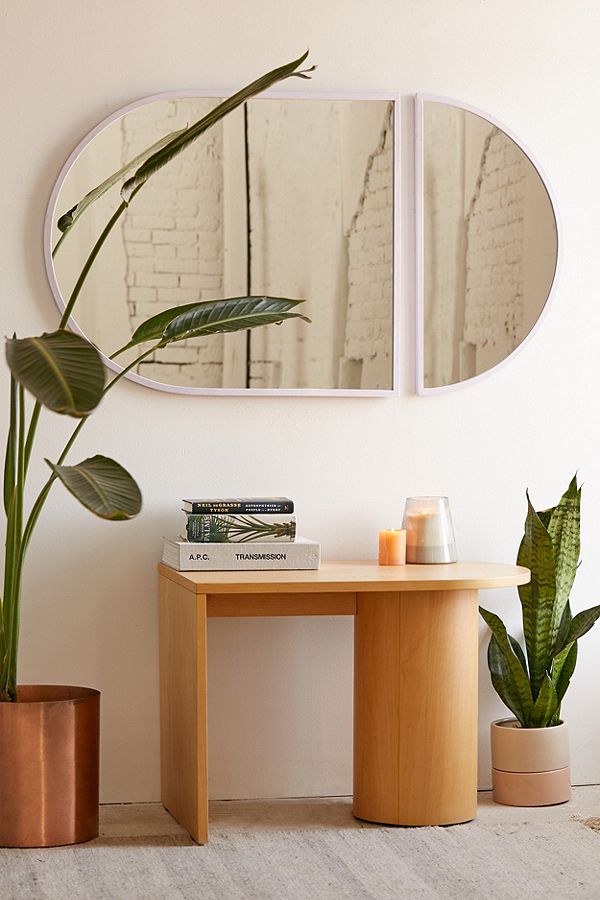
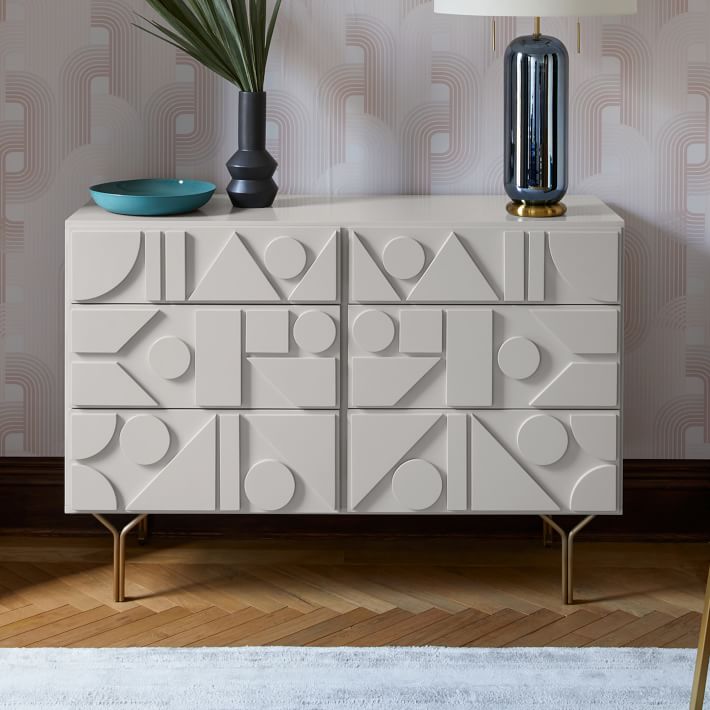
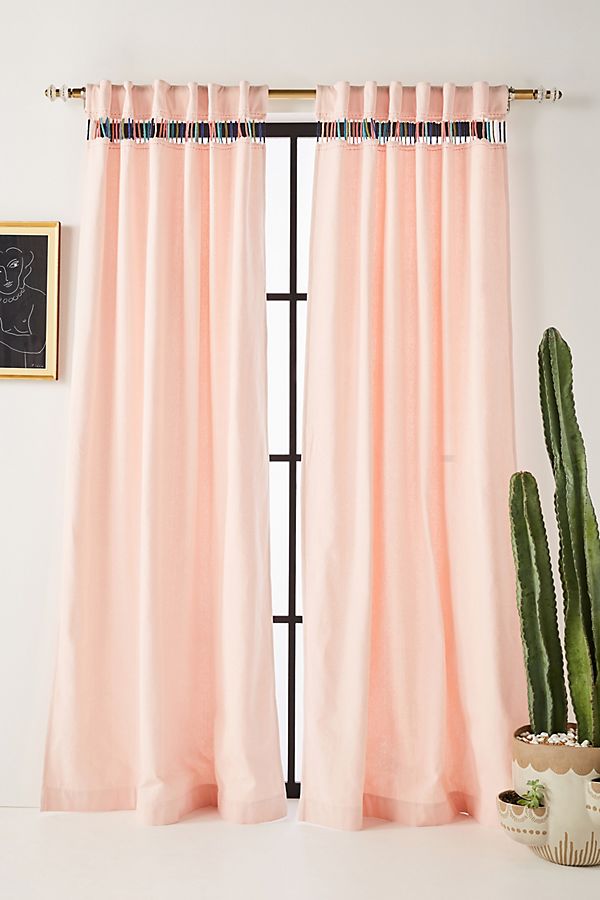
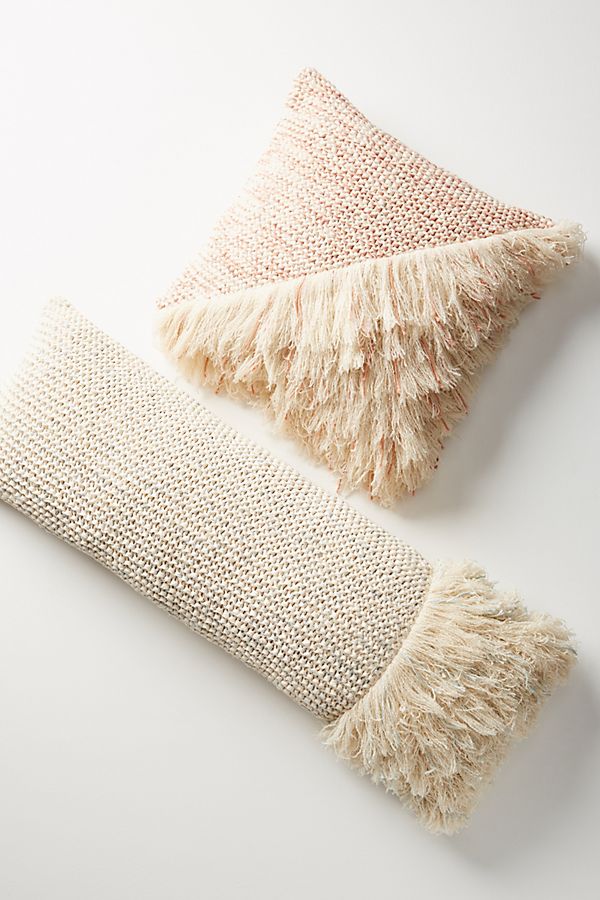
I've put together my favorite Labor Day Sale items from three of my favorite home stores.  Keep in mind that Anthropologie is offering an extra 40% sale items, West Elm is offering up to an extra 30% off sale depending on how much you spend, and Urban Outfitters is an extra 30% sale as well! Happy Shopping!! These items are going fast, so if you want them be sure to jump on it!

I earn a small amount of commission for any purchase that you make! Thanks for helping make it possible for me to put these lists together! 


X0 -Jodi