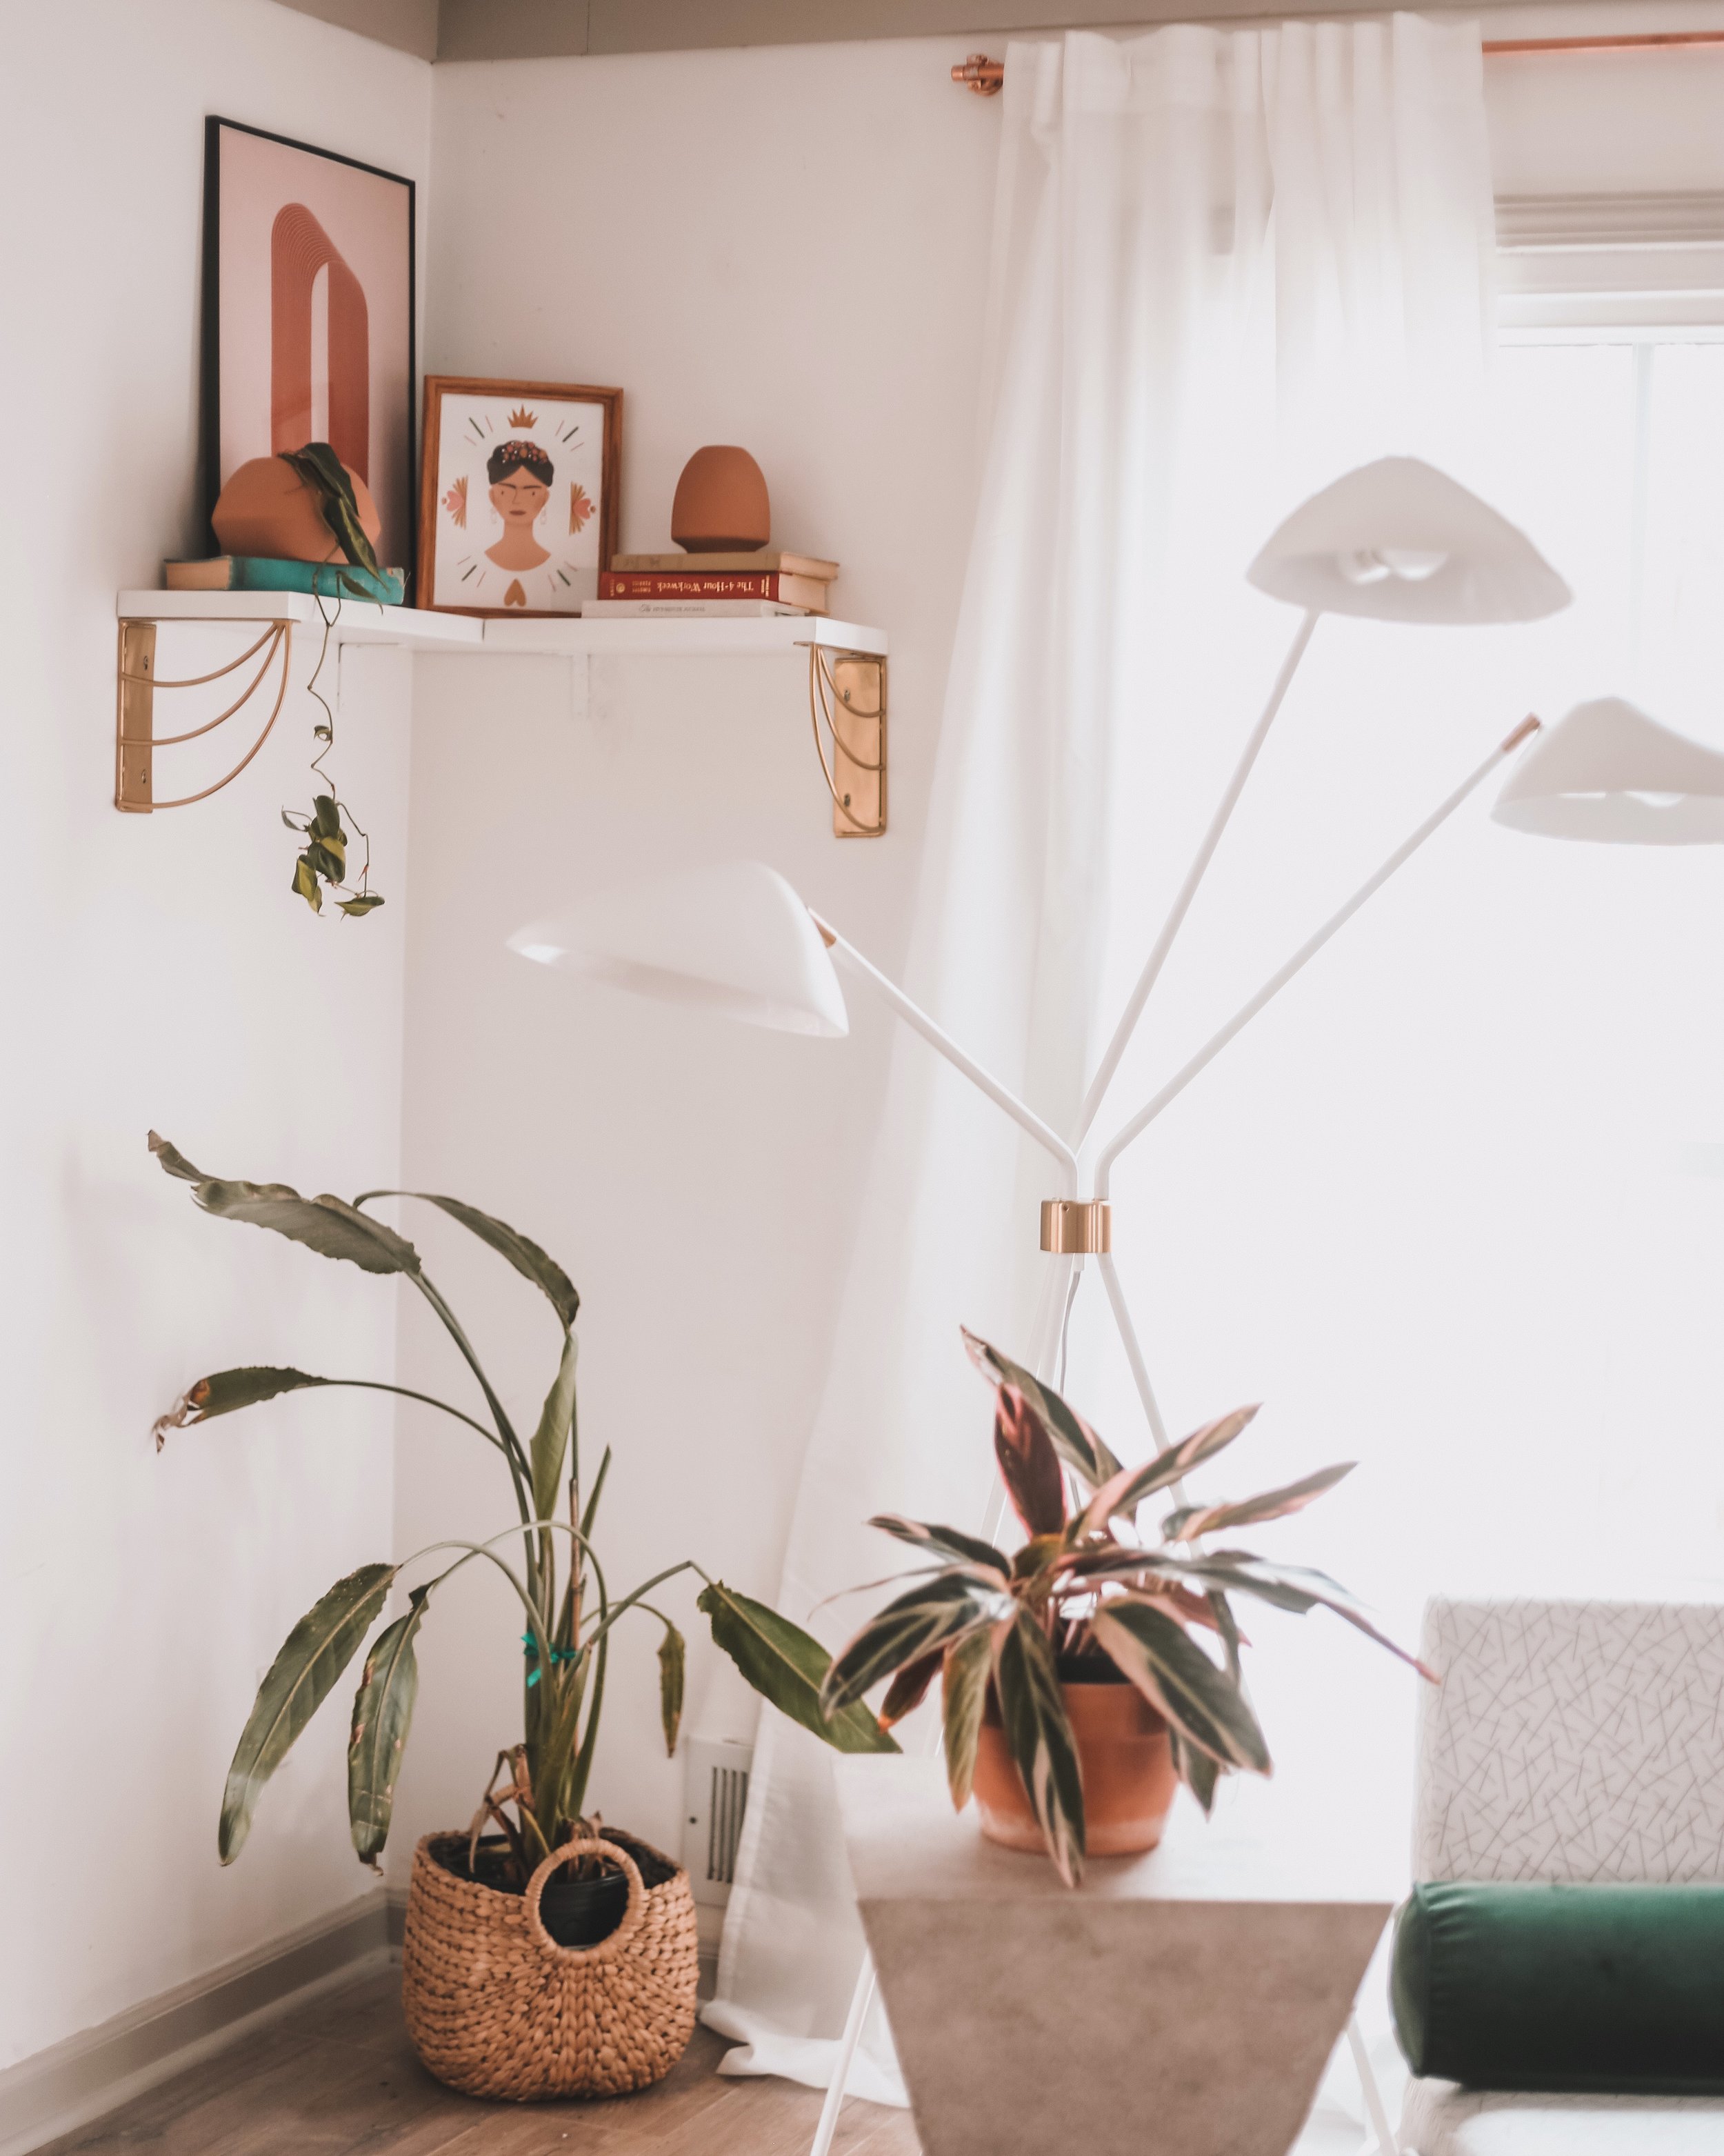
Today I installed a Wall Shelf in my home all by myself. It was sturdy, completely level, and I’m 100% confident it won’t rip out of the drywall as soon as I place something heavy on top.
I share this, because for so many years I was too intimidated to hang anything that needed to be sturdy, whether wall shelves or curtains or lights, so I had to rely on my hubby to handle those tasks.
Not any more people! The process is simple, anyone can do it, and now I want to share it with YOU so you can have the same confidence to hang a shelf on your own as well.
SUPPLIES FOR YOUR CORNER WALL SHELF:
Wood for shelves
Two shelf brackets (used these from World Market)
Two corner 4 inch corner braces
Screws
Toggler bolts (or another type of drywall anchor)
Electric Drill
Drill bit (1/4 inch for the toggler bolts I used)
Level
Stud Finder
Tape measure
The first step is to find your shelf placement. I always have a friend hold up the brackets for me, and eyeball how high and wide I’d like them. Once you find where you’d like the wall shelf to sit, you’ll make a mark with a pencil. Next, take a level and draw a line on the wall the width of the shelf and mark at the other end where the second bracket will be installed. Then I’ll hold my bracket under that line and pencil mark where the holes in the bracket will be on the wall.
Once you’ve marked where you need to install the brackets, you’re going to check whether there’s a stud where you’ll be screwing into the wall. Use your stud finder for this. Simply run it against the wall, and it will beep where it detects a stud. If there is a stud, your job is easy, you can simply attach the bracket to the wall with a screw. If there is no stud behind (and usually this is the case), then you’ll need to use a drywall anchor. I like to use these toggler bolts. They are simple to install and incredibly sturdy. Whichever drywall anchor you use, you’ll need to predrill into the drywall first. The anchor package should specify which size drill bit to use. The drill bit will be just slightly smaller than your anchor. Make sure your drill is pointed straight as you make your hole, otherwise the anchor will sit in the wall crooked. With your hole drilled, hammer your anchor into the wall. The anchors I used have an extra step of hammering a little red pin into the anchor first and then pulling it back out. This pops the backside of the anchor to be flush inside behind the drywall. Now you’re ready to screw in your brackets using your screws.
Since I was hanging a corner wall shelf, I also added two corner braces between my shelf brackets. These will support two separate shelf boards. l used the same method as the brackets to anchor the corner braces into the wall.
Once all four shelf brackets were installed in a level line, the last step is to attach the boards you are using for shelves. I measured one to be the length going all the way to the corner of the wall, and other shelf shorter, to butt up against the first shelf, creating a corner. I used lumber from my local lumbar yard, and painted the boards white first using a sealing primer, and then regular wall paint.
Next dry fit the boards on the brackets, and mark under the boards where the screws will be installed. Then remove the boards, and using a smaller drill bit this time, drill pilot holes into the boards. This makes the final installment so much easier, because you’re board won’t be moving all around as you try to create the hole.
Your final step is to put your boards in place, and drive a screw into each of your pilot holes.
Voila! You now have a level and sturdy corner wall shelf! Good job, guys!!
Like this post if you found it helpful! And share it with a friend who needs to know they are capable of doing these handyman jobs all on their own! As always, drop me any of your questions and comments below. I’d love to hear from you!
XO -Jodi


